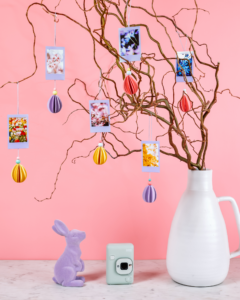
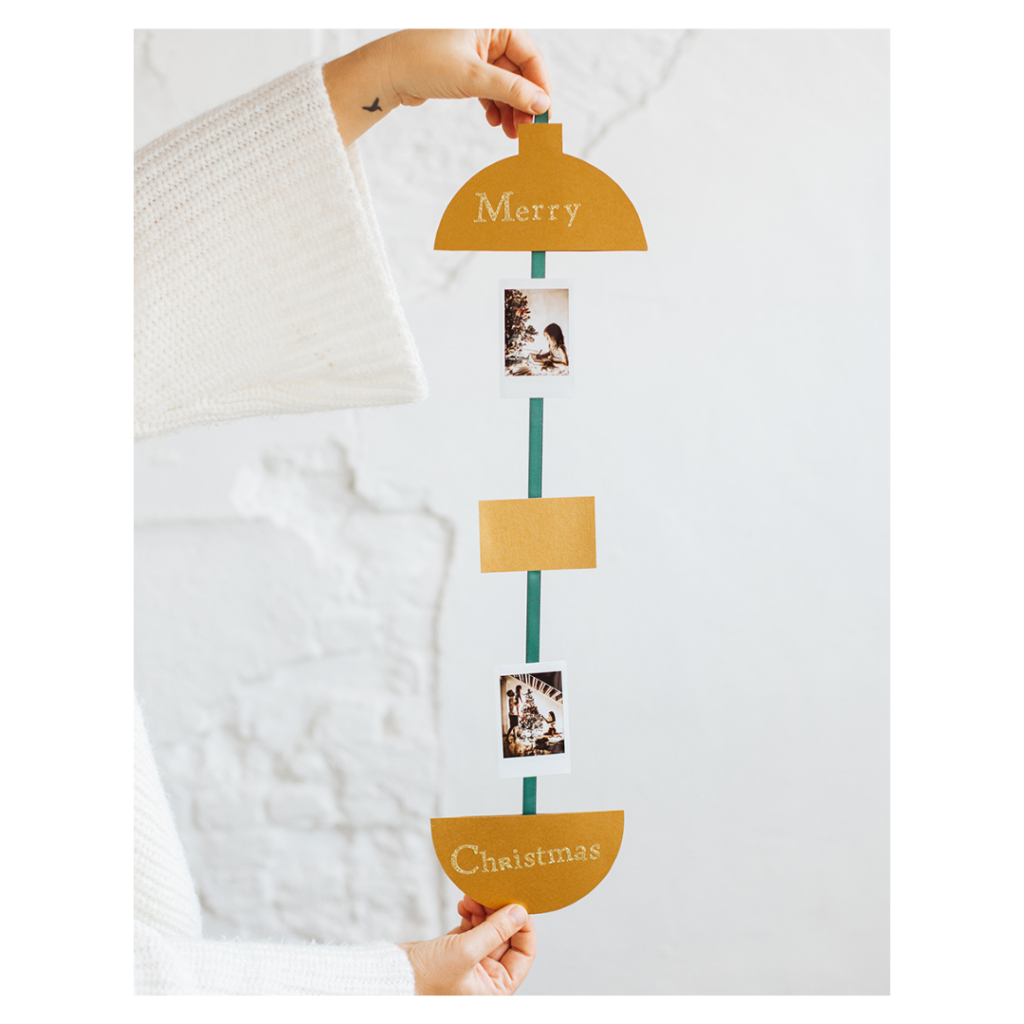
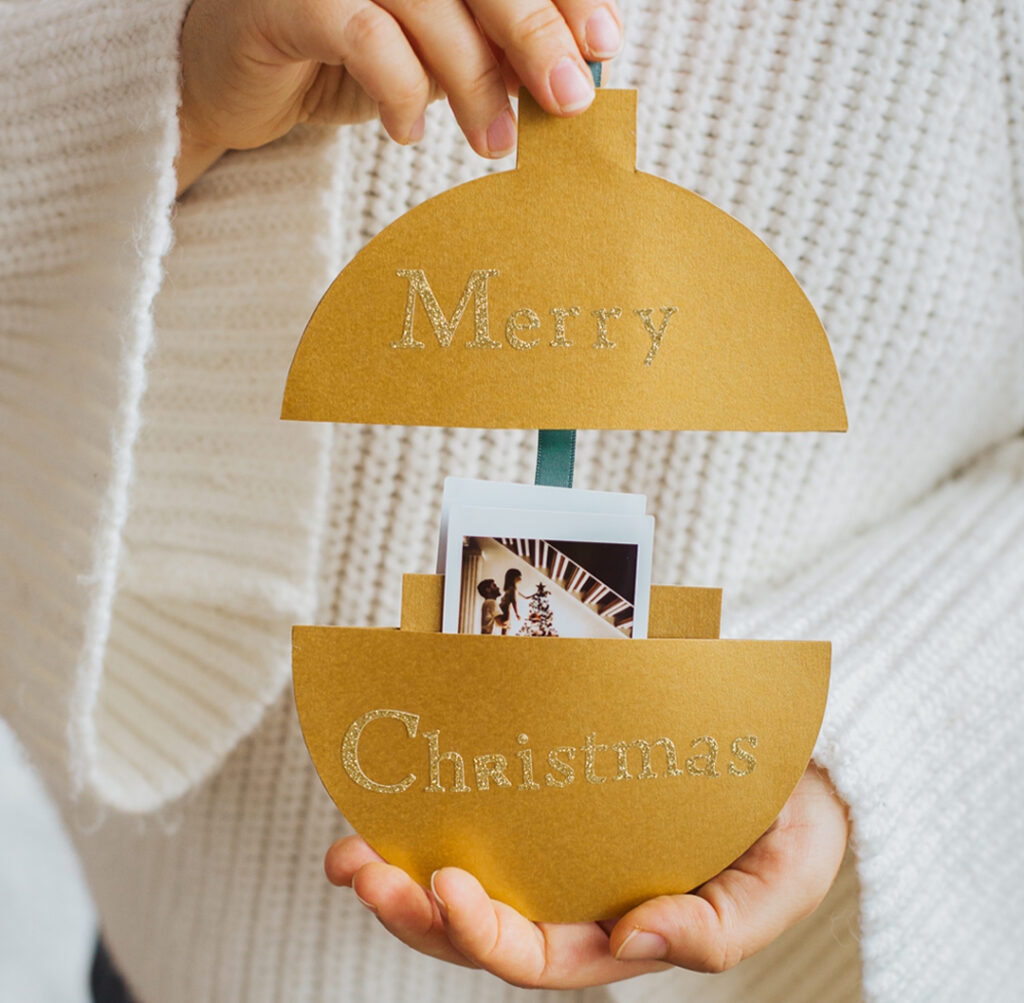
MAKE YOUR OWN CHRISTMAS CARD WITH INSTAX
WHAT DO YOU NEED FOR THIS INSTAX DIY:
• 2 instax photos
• 2 x double-sided gold leaves A4 (220g)
• Craft glue
• Brush for glue
• Green ribbon with width of 1cm
• Compass
• Tape measure
• Scissors
• Pencil
• Small card for attachment to the ribbon
• Golden letter stickers
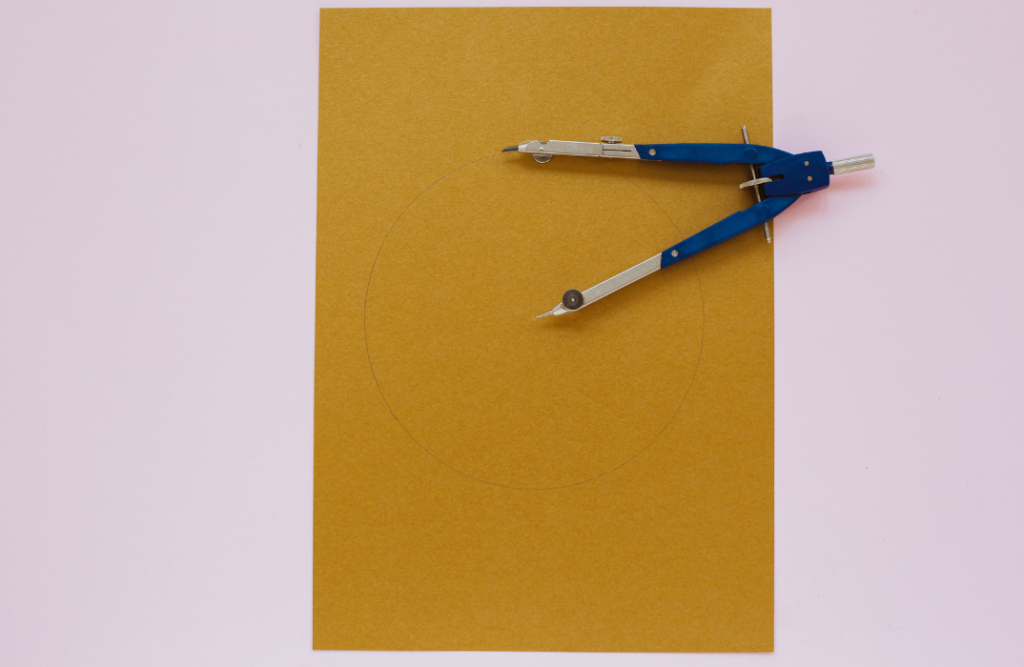
STEP 1
Set your compass at 7.8cm apart and use it to draw a circle on both gold leaves.
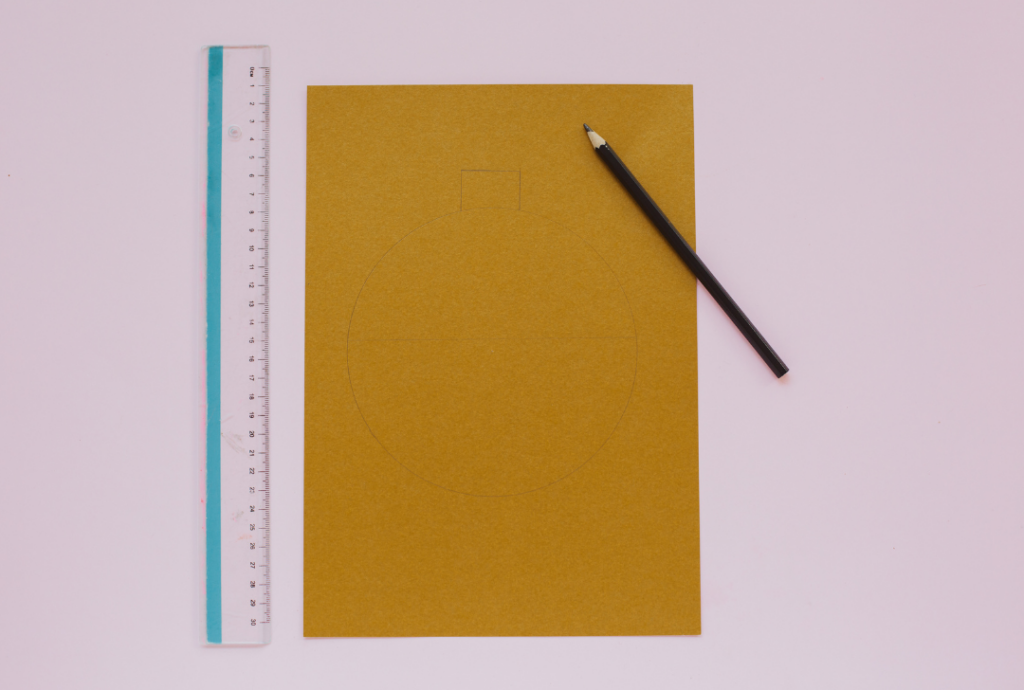
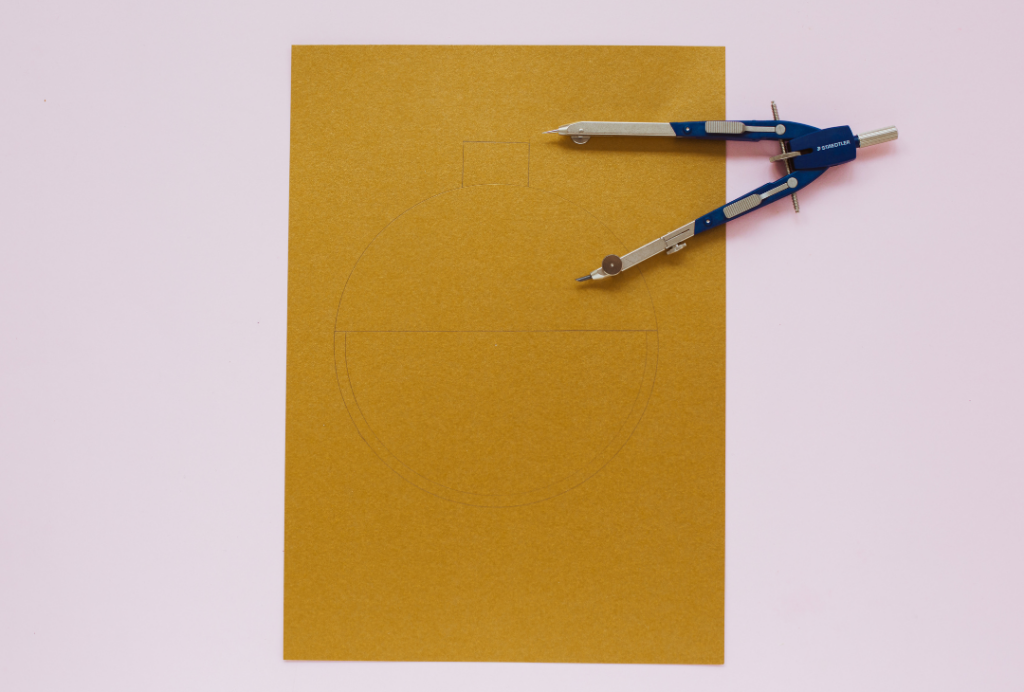
STEP 2
Draw a horizontal line through the circles 0.5cm above the centre. Also draw the top part of the 'Christmas ball' - 2cm height x 3cm width.
STEP 3
Set the compass at 7.3cm and return it to the centre. Draw half an inner circle on the lower halves.
STEP 4
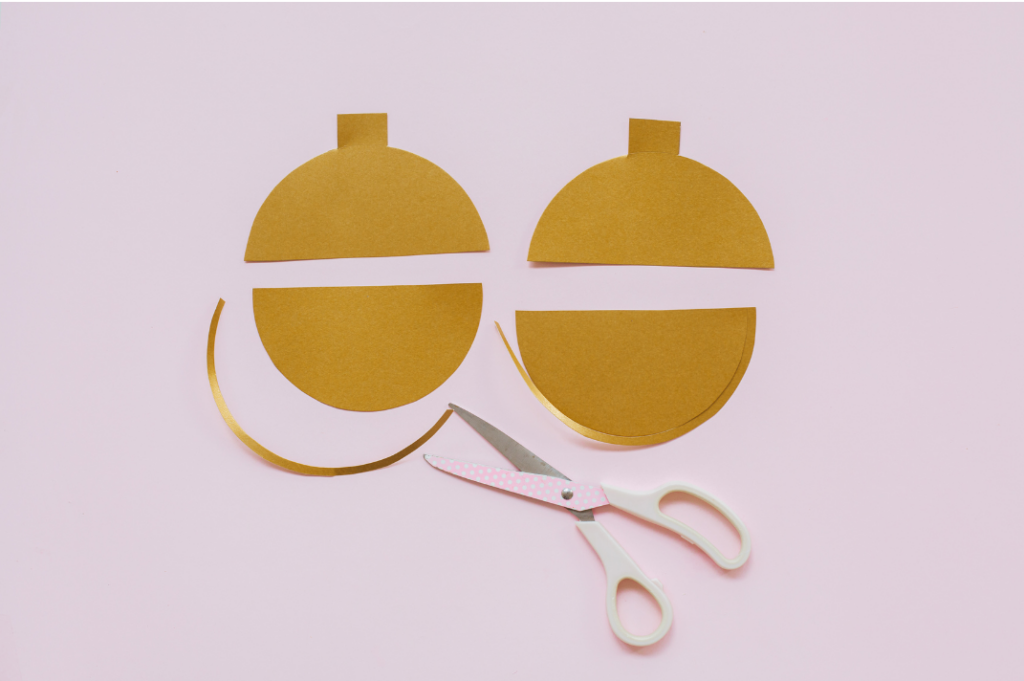
Cut out the baubles and cut them in half on the horizontal line.
STEP 5
At the bottom half, cut on the inner half-circle.
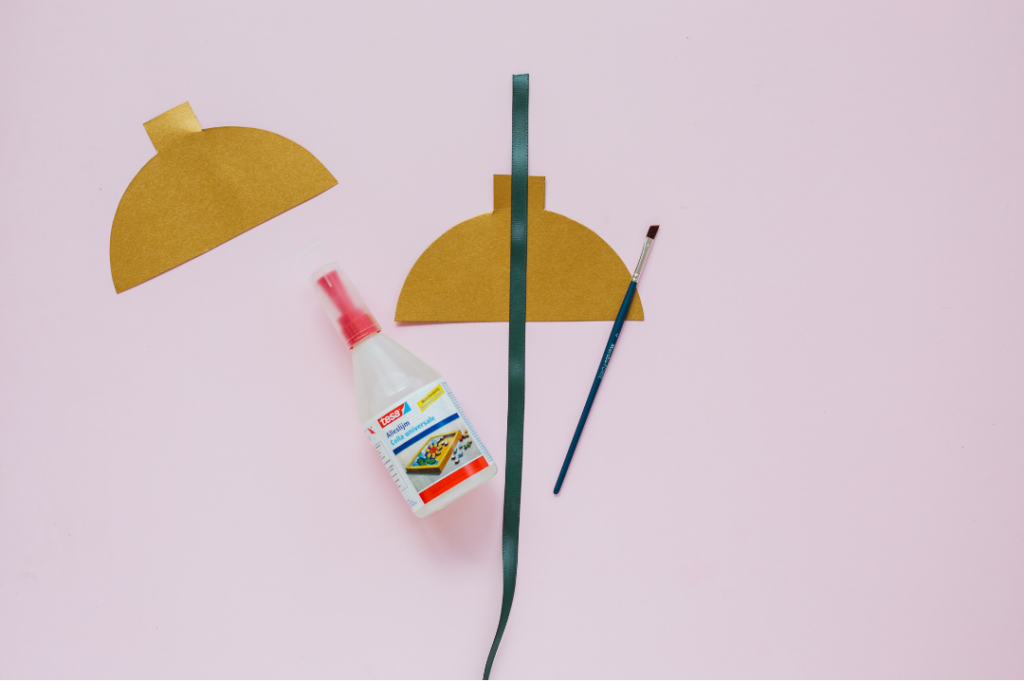
STEP 6
Glue the ribbon with craft glue to one of the top halves in the middle. Keep about 6 cm at the top.
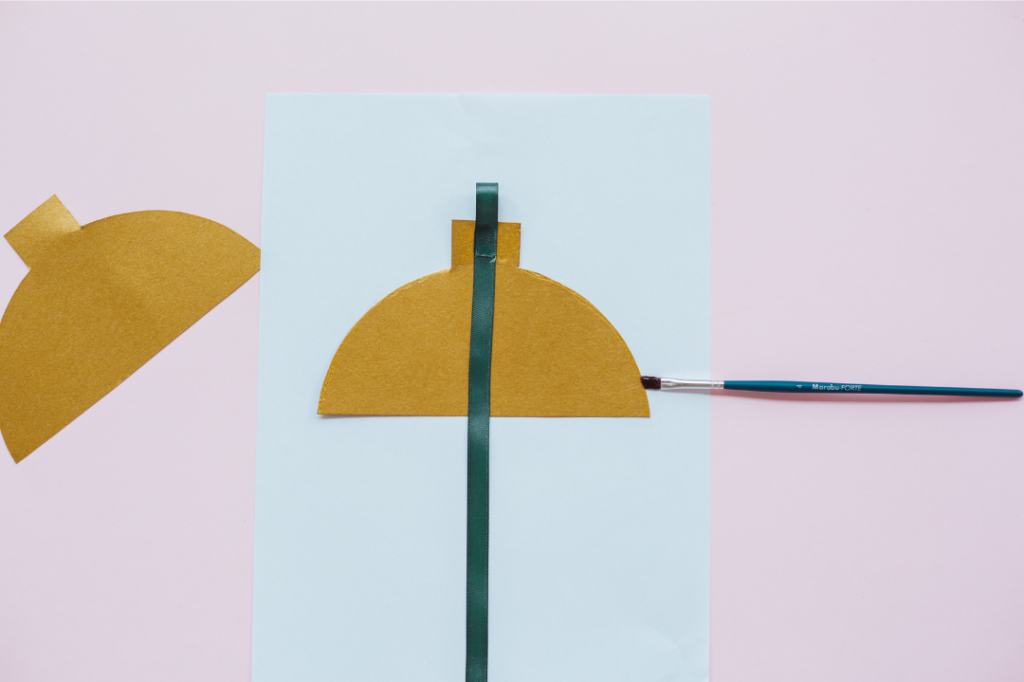
STEP 7
Fold the ribbon inwards and glue it with craft glue so that you obtain a loop above the bauble.
STEP 8
Apply craft glue with a brush along the edge and glue the second top half on this, so you get a kind of envelope.

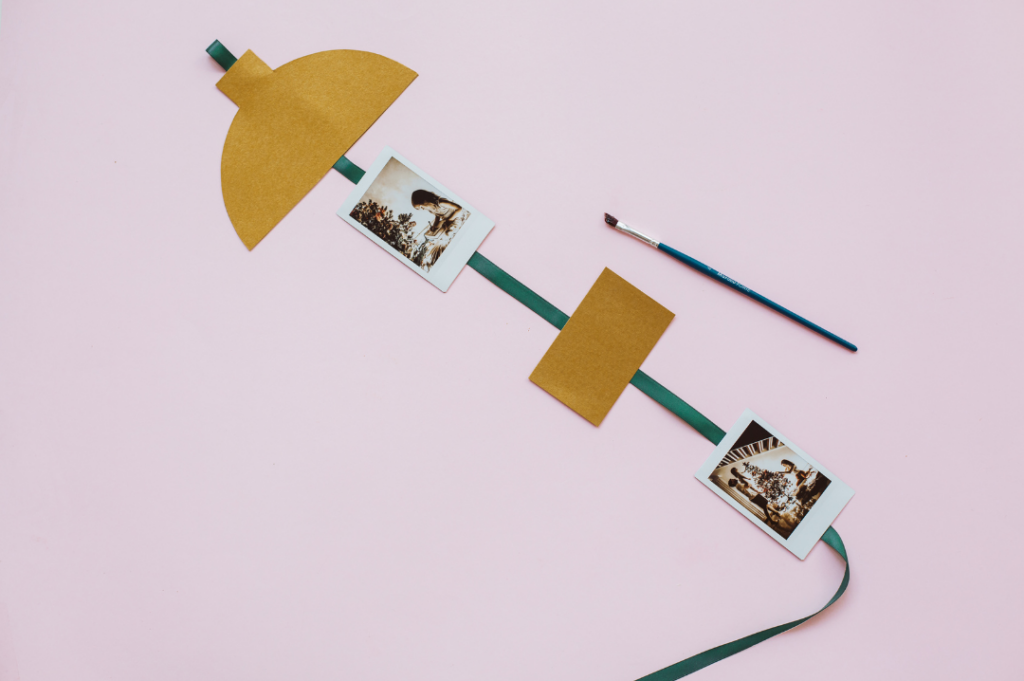
STEP 9
Lay the ribbon open and use craft glue to stick the first instax photo 2cm from the top half. Then stick a card 7cm from the instax photo (you can write a nice message here). Glue the second instax photo 7cm from the card.
STEP 10
Glue the ribbon to the centre line of the bottom half 2cm from the second instax photo. Apply craft glue with a brush along the edge and glue the second bottom half on this. Cut off the excess ribbon.
STEP 11
Fold the photos and card together and slide them into the bottom half. Using the top half to seal the Christmas bale envelope.
STEP 12
As a finishing touch, decorate the card with the gold stickers.
In a creative mood? Click here for more DIY inspo!