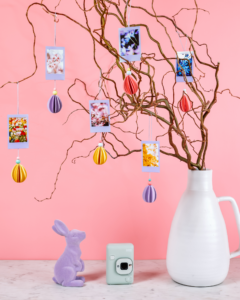
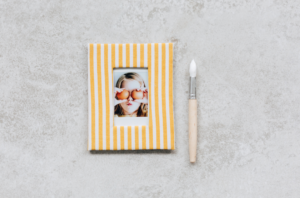
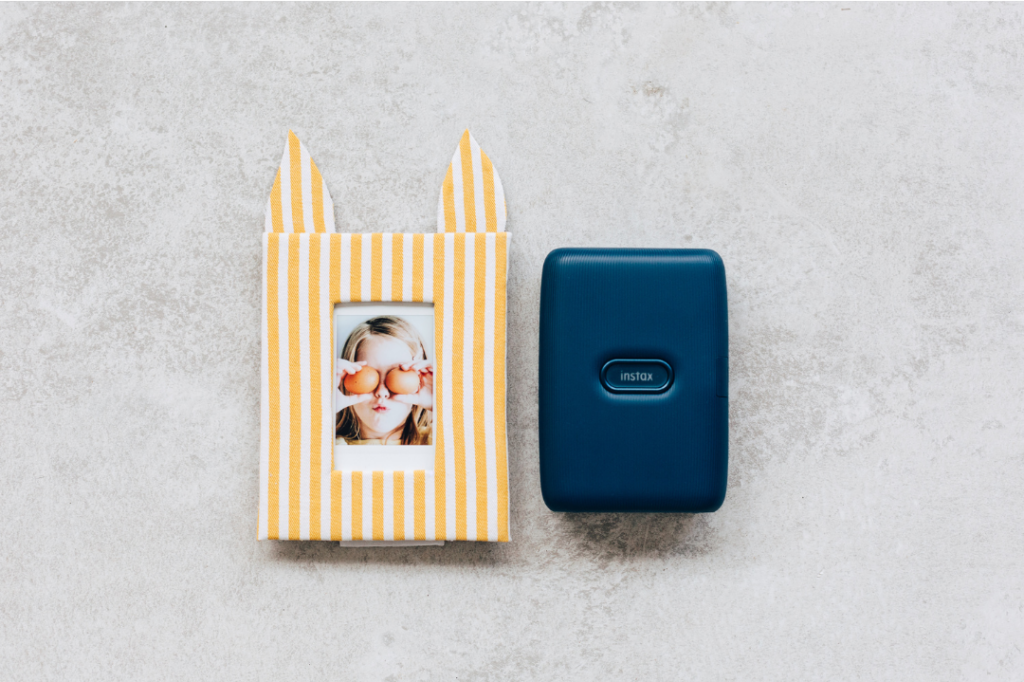
Bunny ears photo frame for Easter

What do you need?
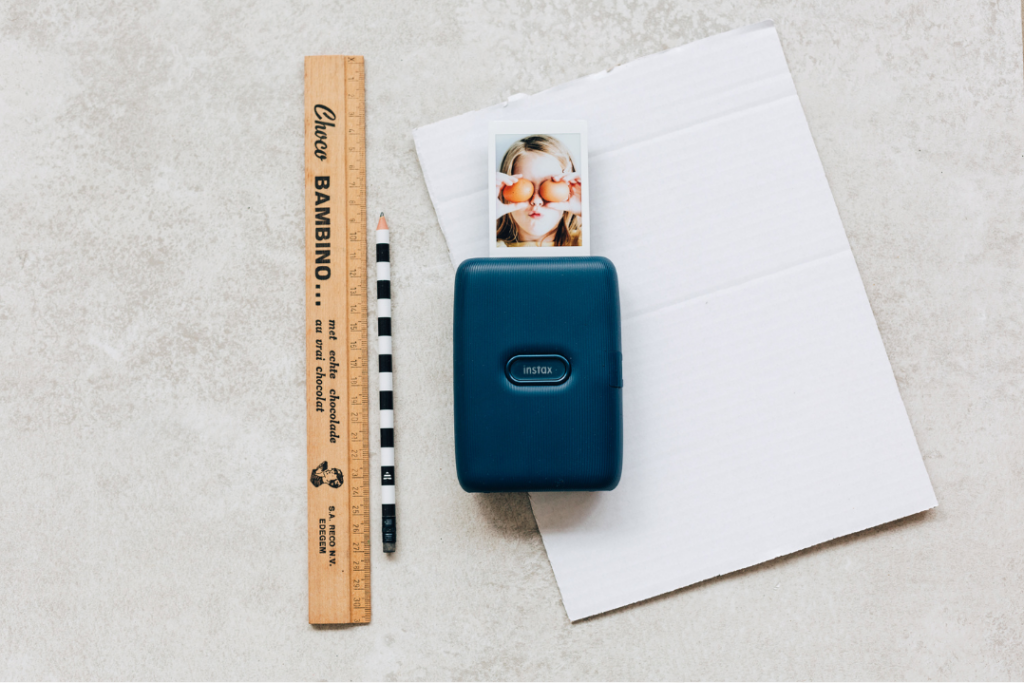
- instax mini Link printer
- Cardboard
- Piece of fabric
- Mod podge (or any glue that glues fabric)
- Paintbrush
- Scissors / Cutter
- Ruler
- Pencil
- Marker
STEP 1
Print a photo you want to use with the instax mini link printer.
STEP 2
Place your instax photo on a piece of cardboard and draw a line around it using a pencil.
STEP 3
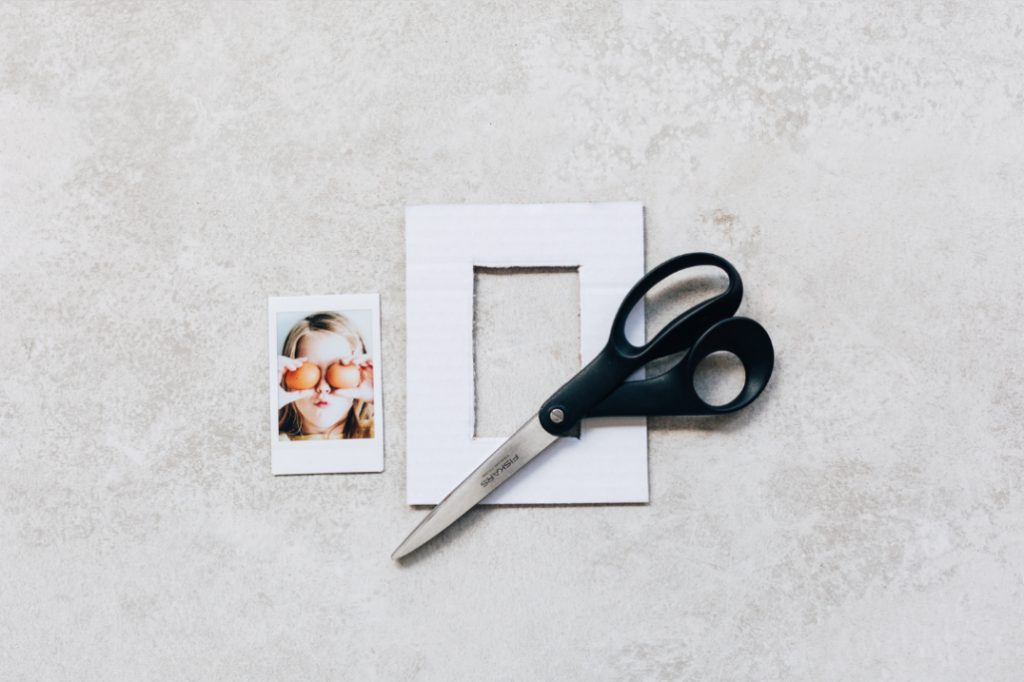
Draw a line 3 cm outside of the line that marks the instax photo and another one 2 mm inside of the line that marks the instax photo. These are the lines where you will cut out the frame.
STEP 4
Cut out the frame.

STEP 5
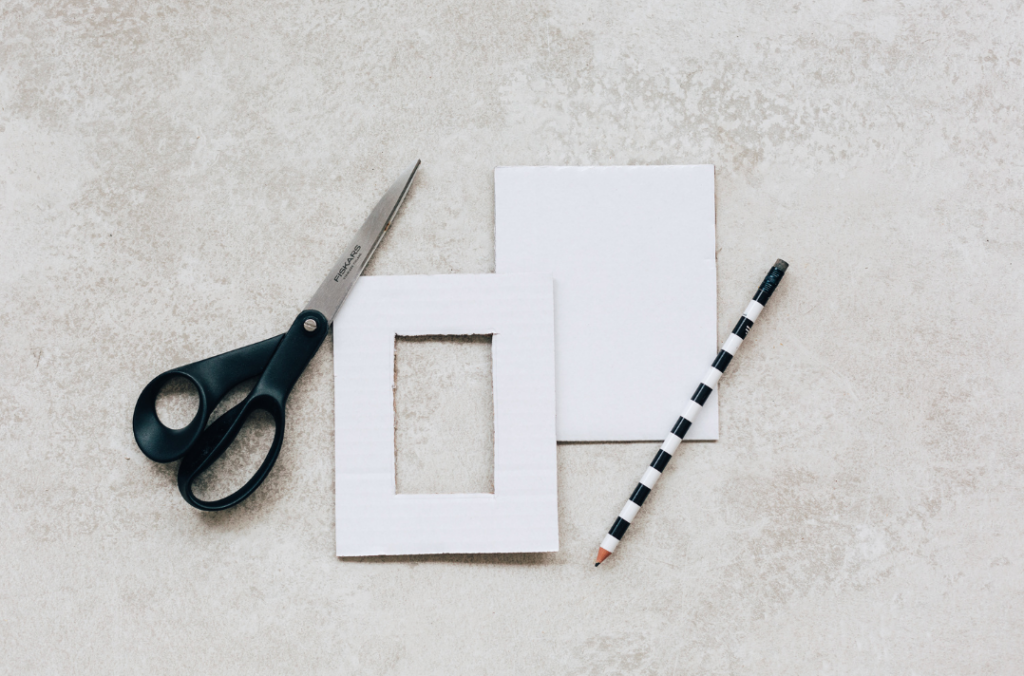
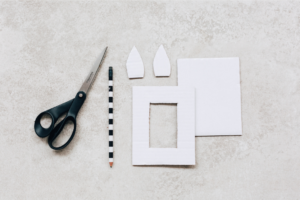
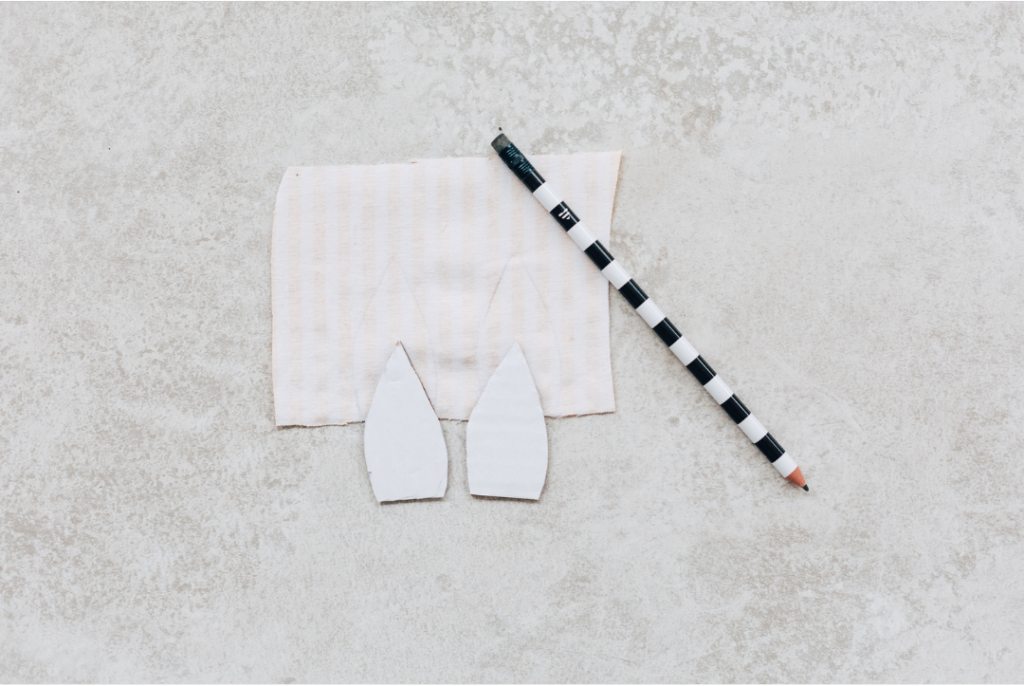
Cut another piece of cardboard the same size of your front piece to serve as a backing piece. Also cut out 2 bunny ears out of the cardboard.
STEP 6
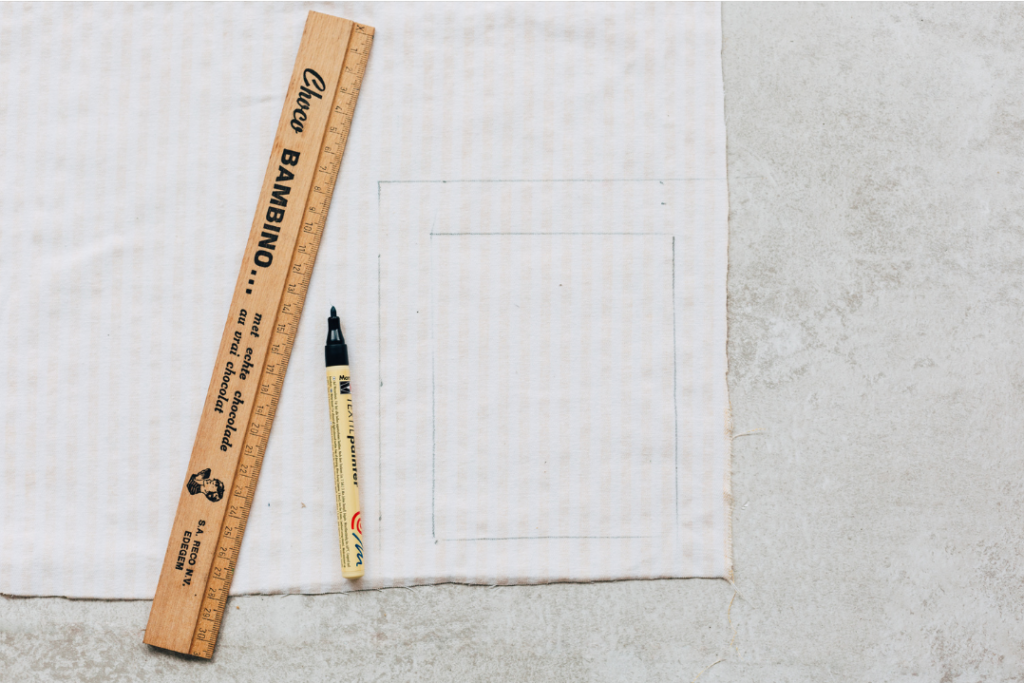
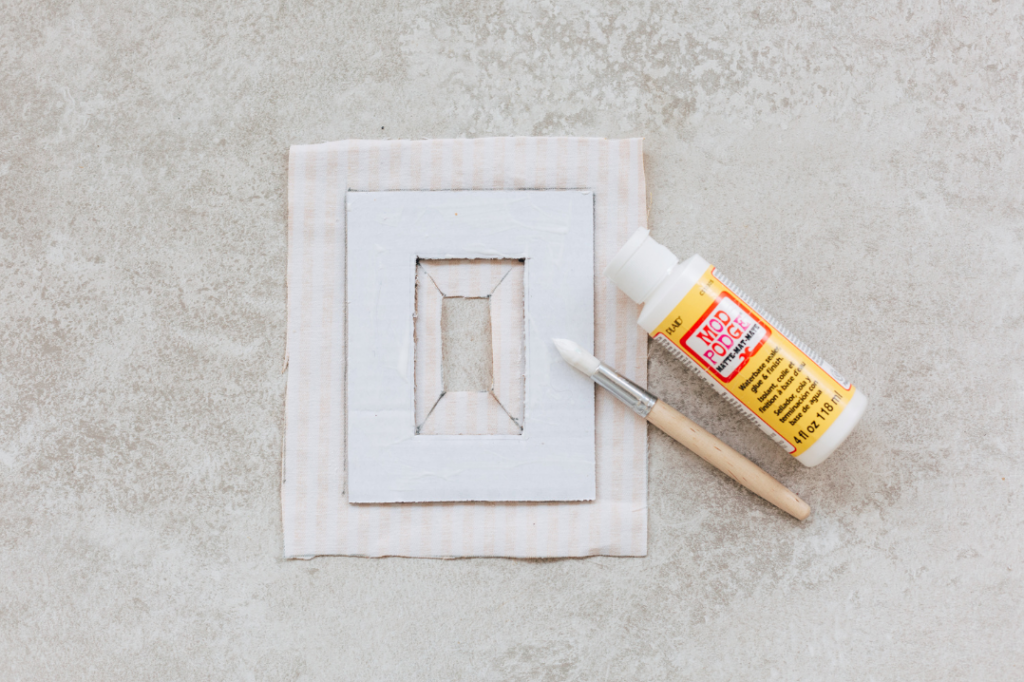
Take a piece of fabric and mark a line around the frame. Make another line 2,5 cm outside of the original frame line. This where you will cut the fabric.
STEP 7
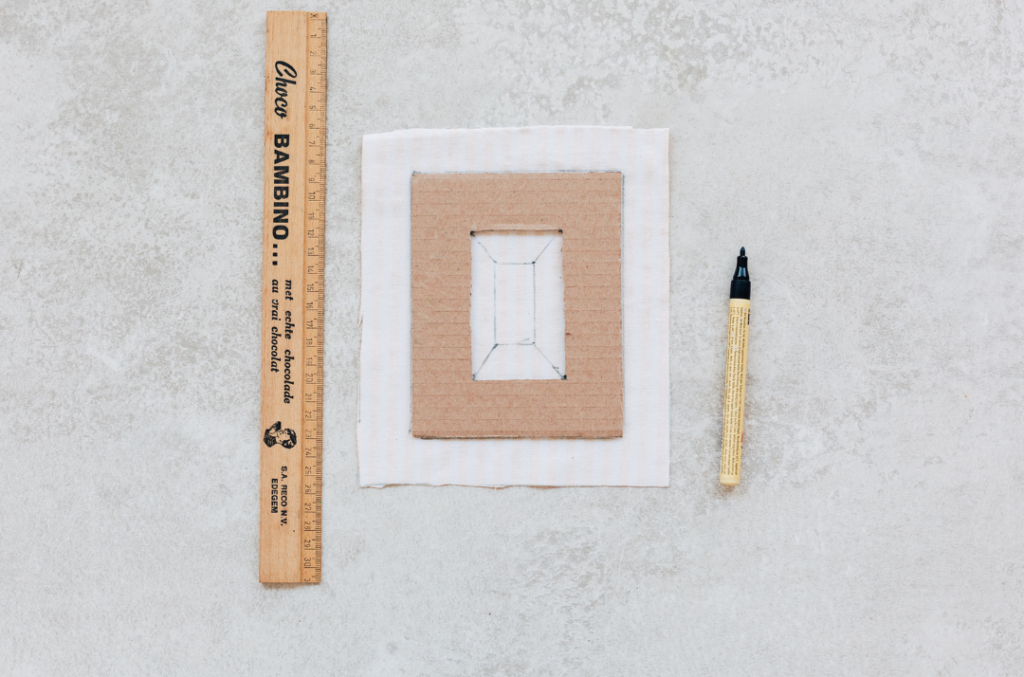
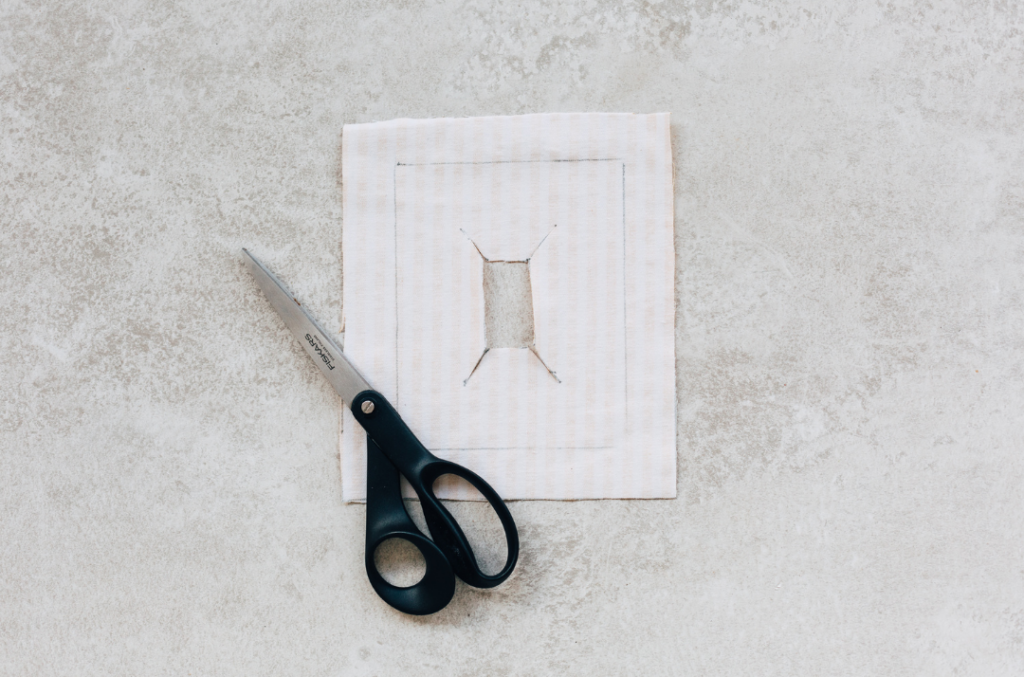
Draw a rectangle inside the frame and connect the corners with the corners of the frame. Cut out the rectangle and make incisions on the lines going from corner to corner.
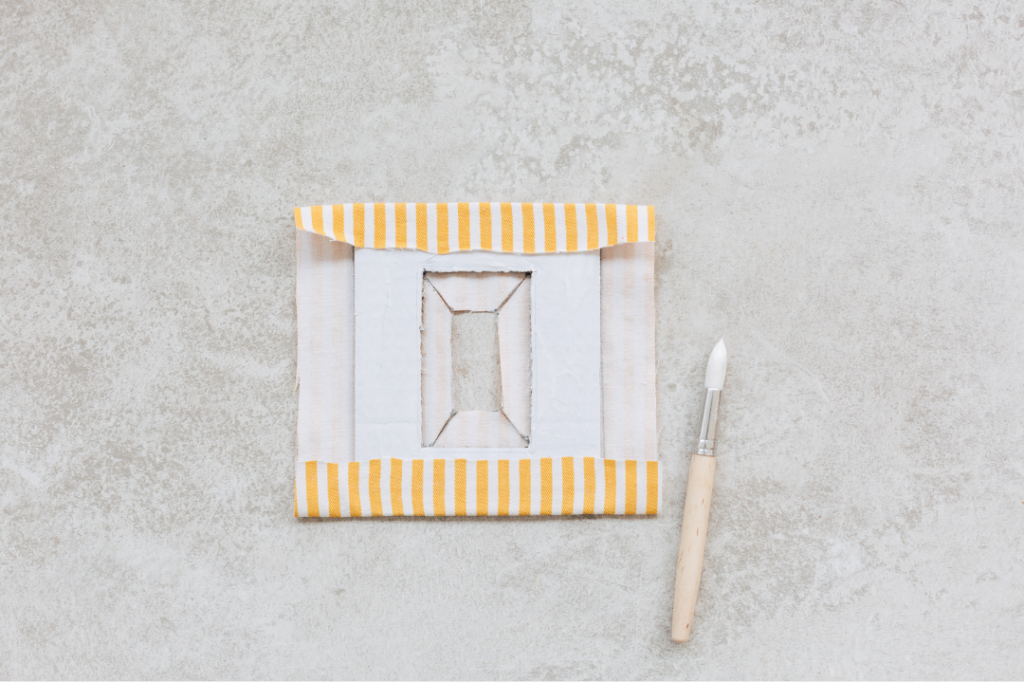
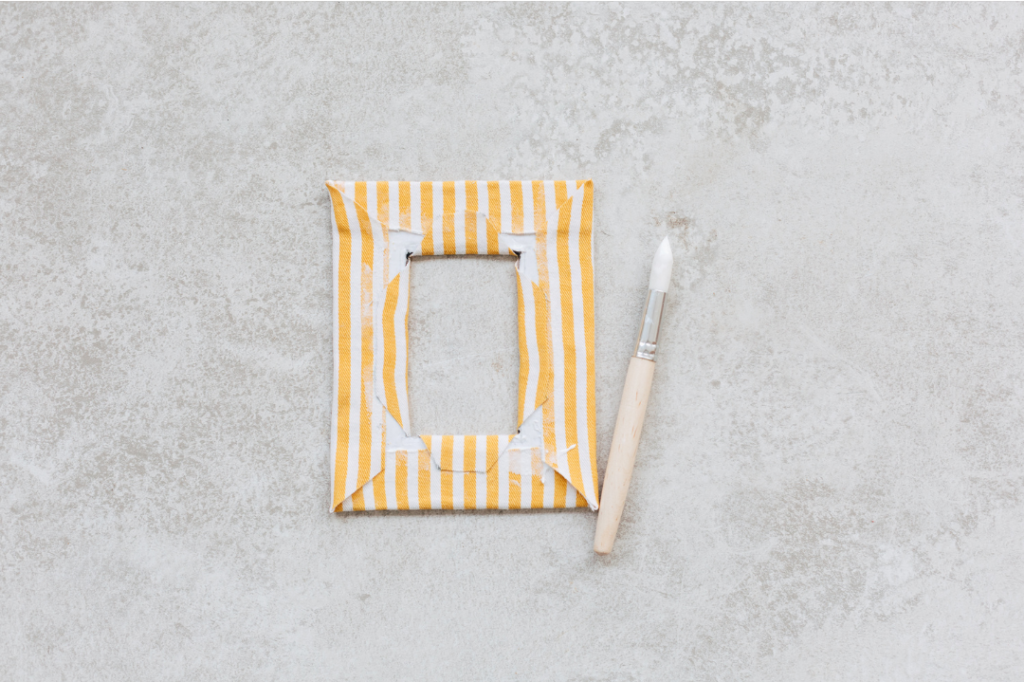
STEP 8
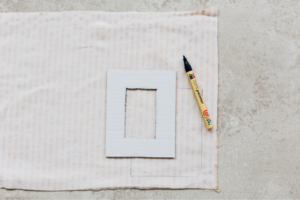
Place the cardboard on the fabric and glue the fabric to the back of the frame using Mod Podge (or other glue). You can trim the corners if your fabric is too thick.
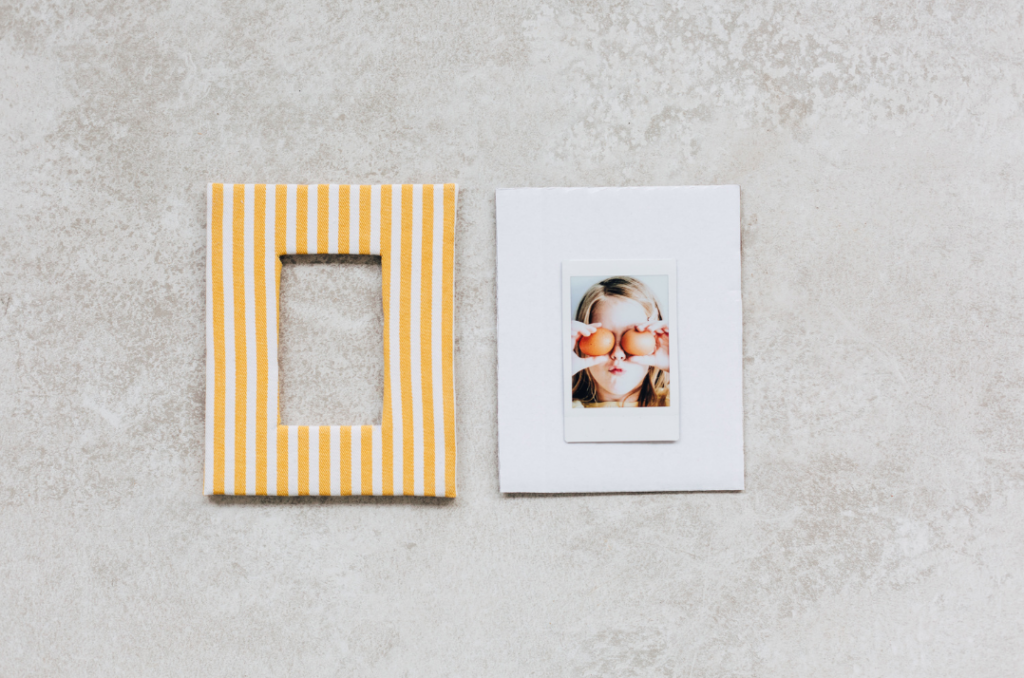
STEP 9
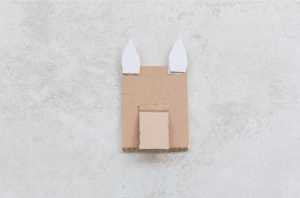
Place an instax photo on the backing piece of the frame and glue the front piece of the frame (the piece with fabric) onto it.
STEP 10
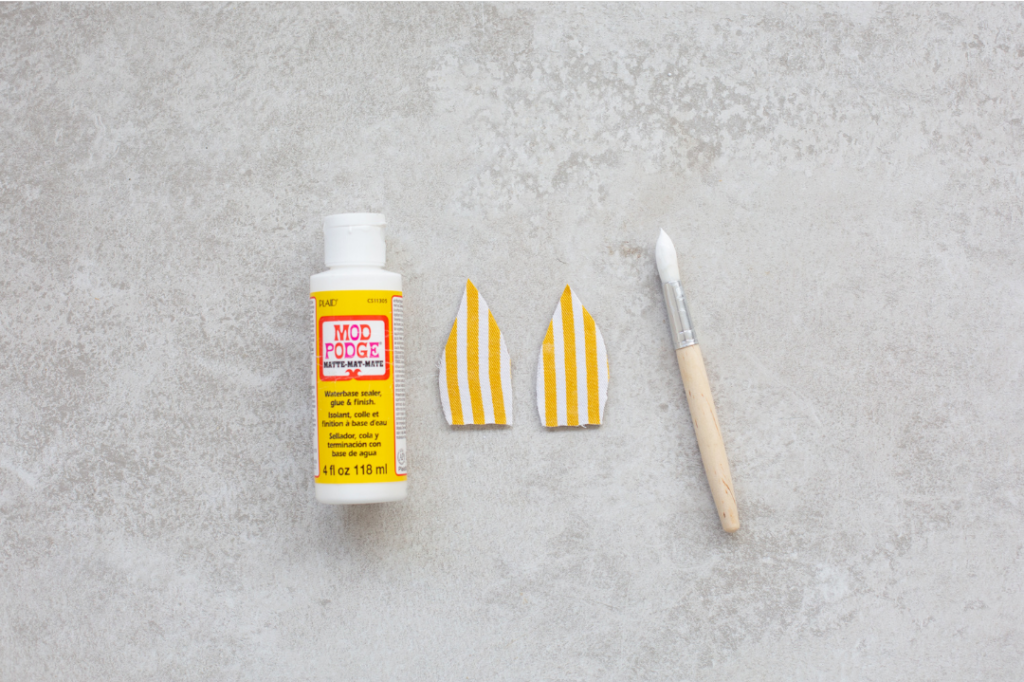
Mark the cardboard bunny ears with a marker or pencil on the fabric and cut them out. Glue the fabric ears on the cardboard ears and glue them on the back of the frame.


STEP 11
Cut out the rectangle out of cardboard and fold 2 cm of it. Glue the folded part to the frame - it will ensure that your frame stands on its own.
In a creative mood? Click here for more DIY inspo!