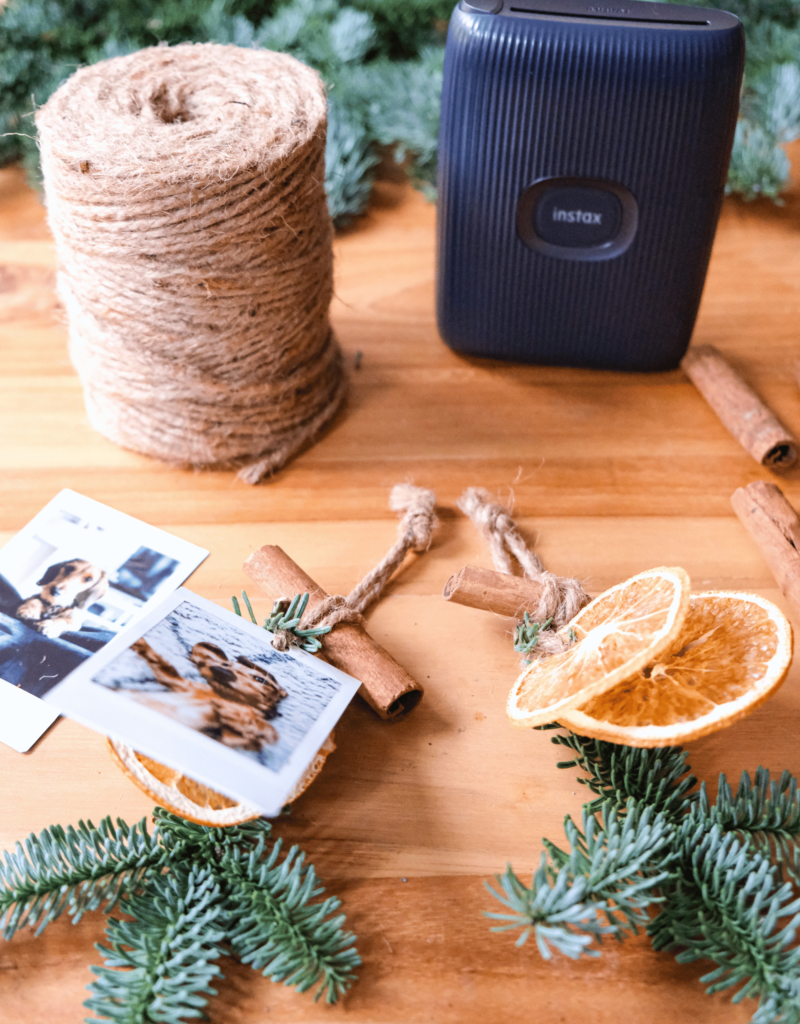
Christmas ornament with INSTAX Link printer
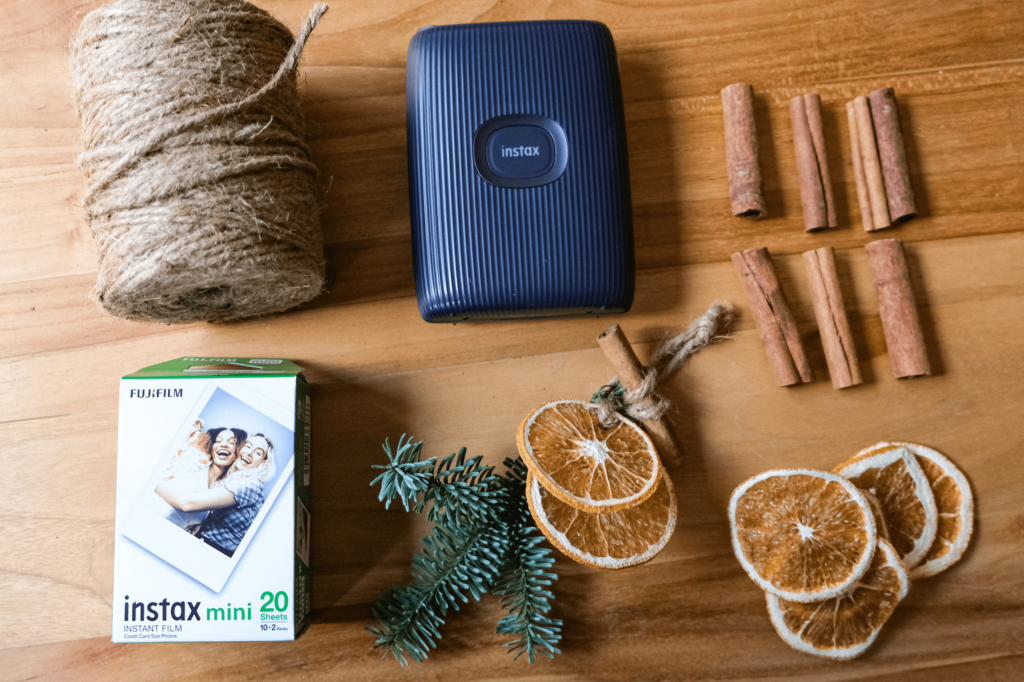
What you need?
- 1 cinnamon stick
- 2 dried orange slices
- piece of string of approx. 30 cm
- sprig of pine branches
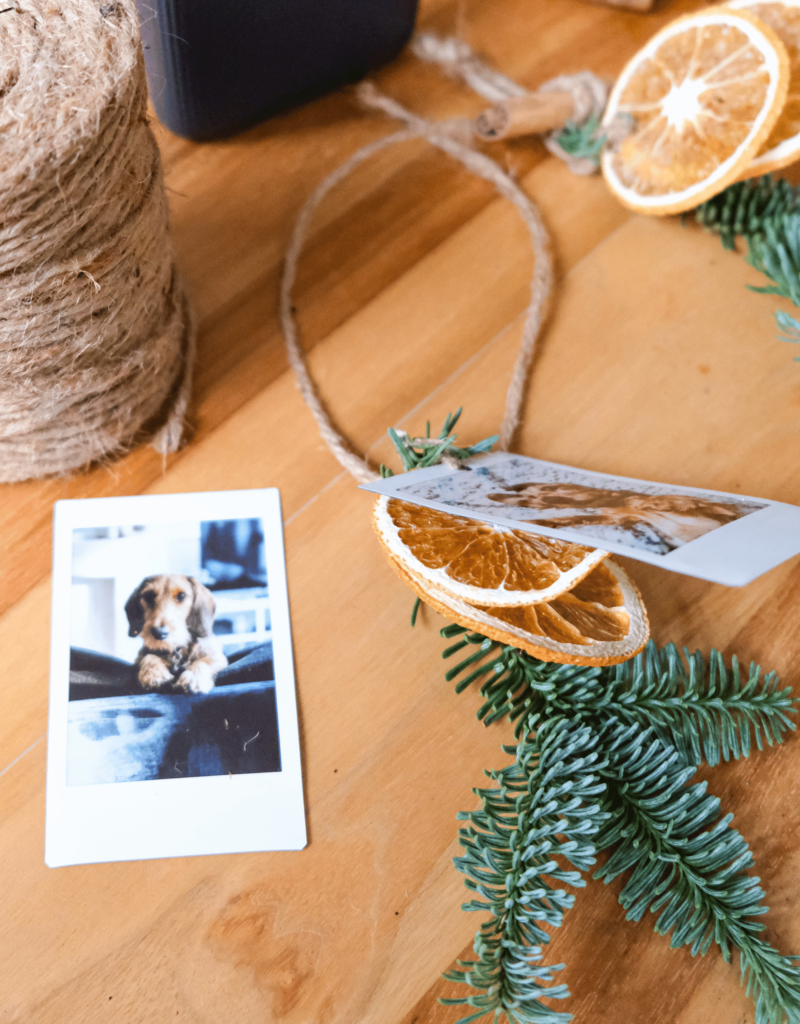
- your favourite INSTAX photo*
*This is the perfect time to bring your smartphone photos to life by printing them with an INSTAX Link printer. 😉
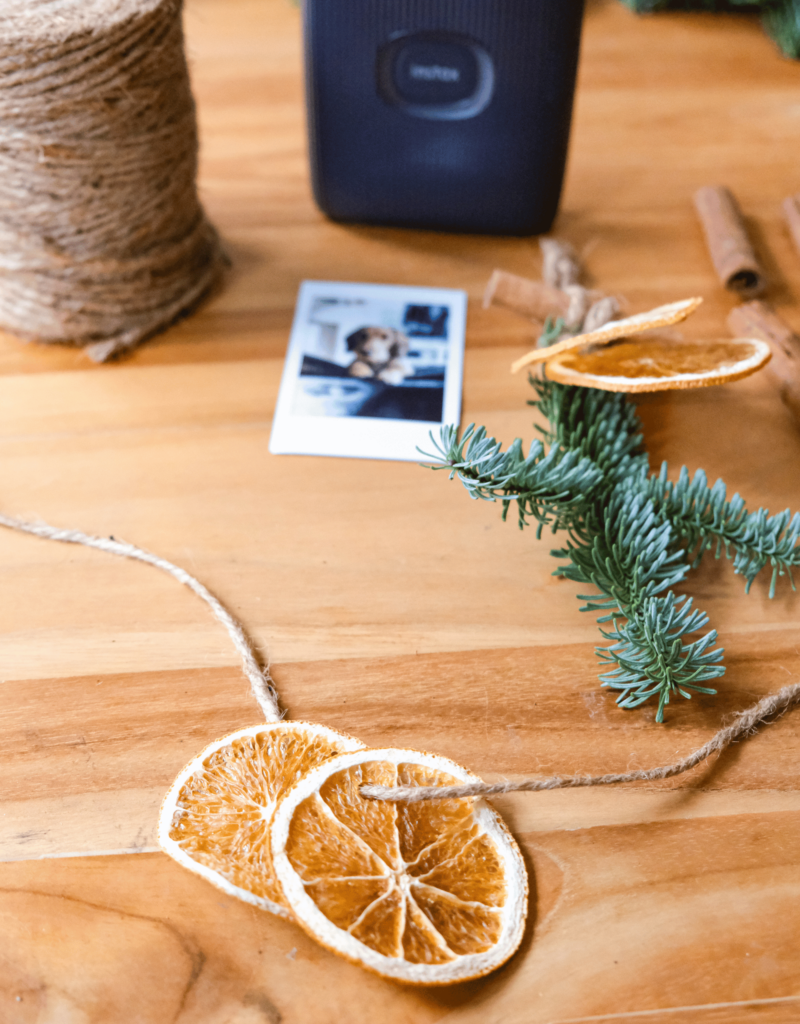
STEP 1
Using a hole punch, make a hole at the top of each orange slice. Thread them both onto the string. Make sure the slices are nicely centered on the rope.
STEP 2
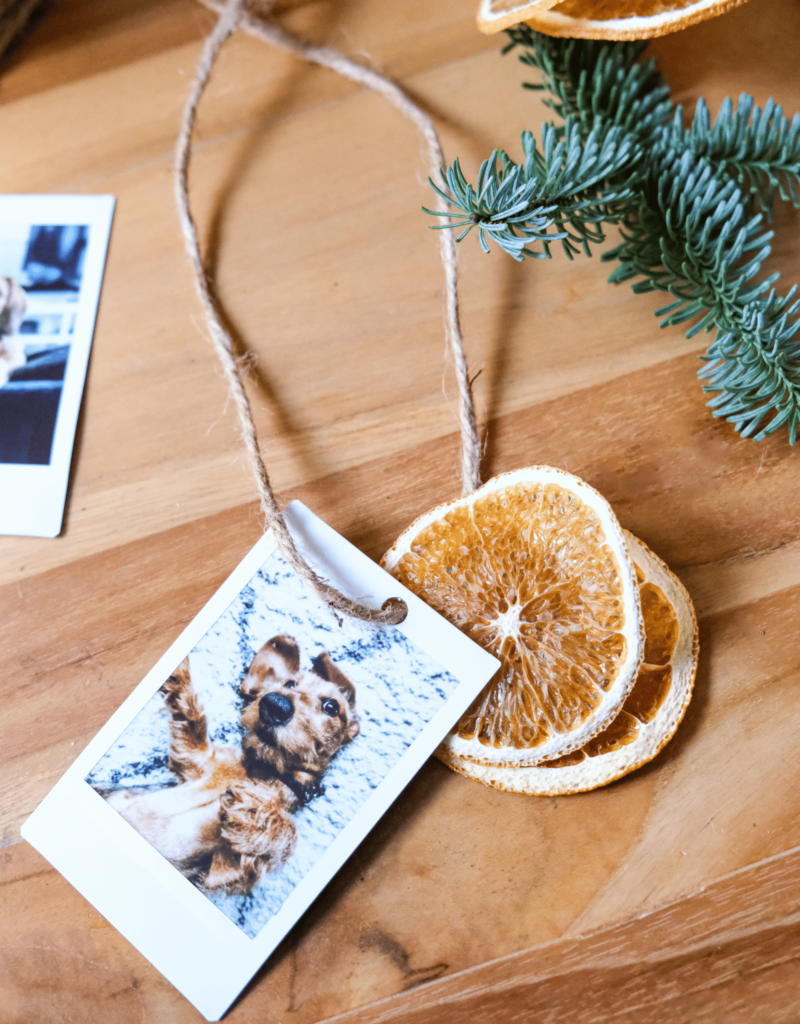
Using a hole punch, make a hole at the top of your favourite INSTAX photo. Thread your photo onto the string too and make sure it sits on top of the orange slices.

STEP 3
Tie a knot at the top of the INSTAX photo and the orange slices to stop them from shifting.
STEP 4
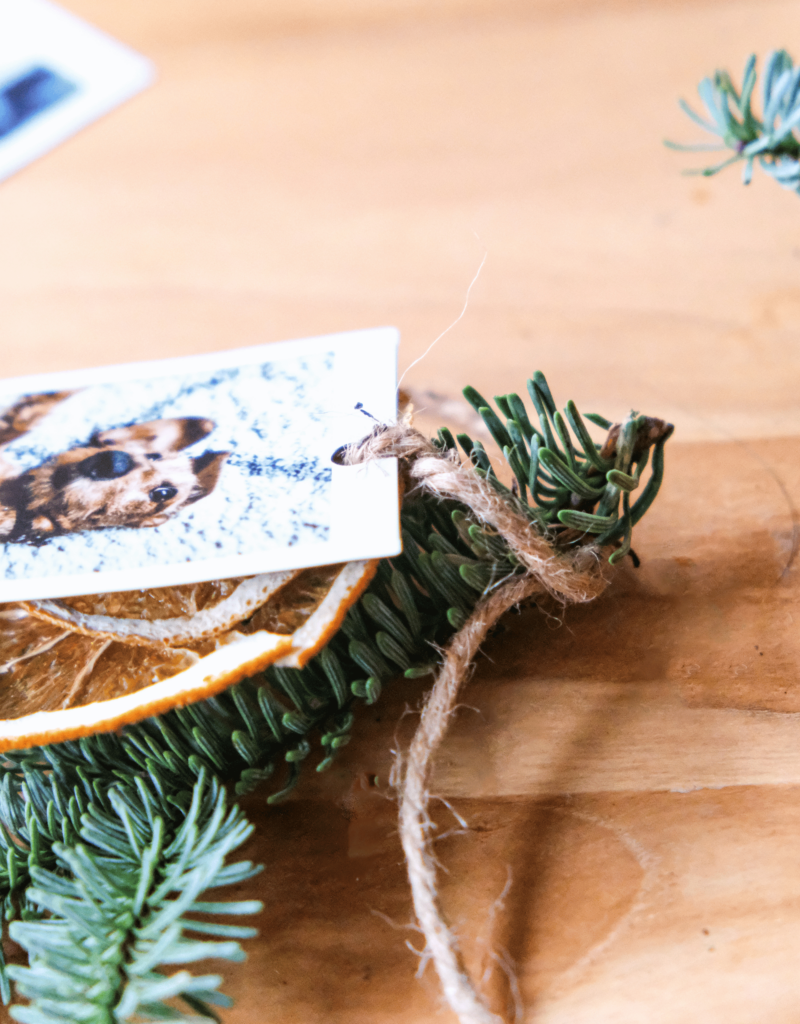
Attach your sprig to the back of the orange slices with a knot.
STEP 5
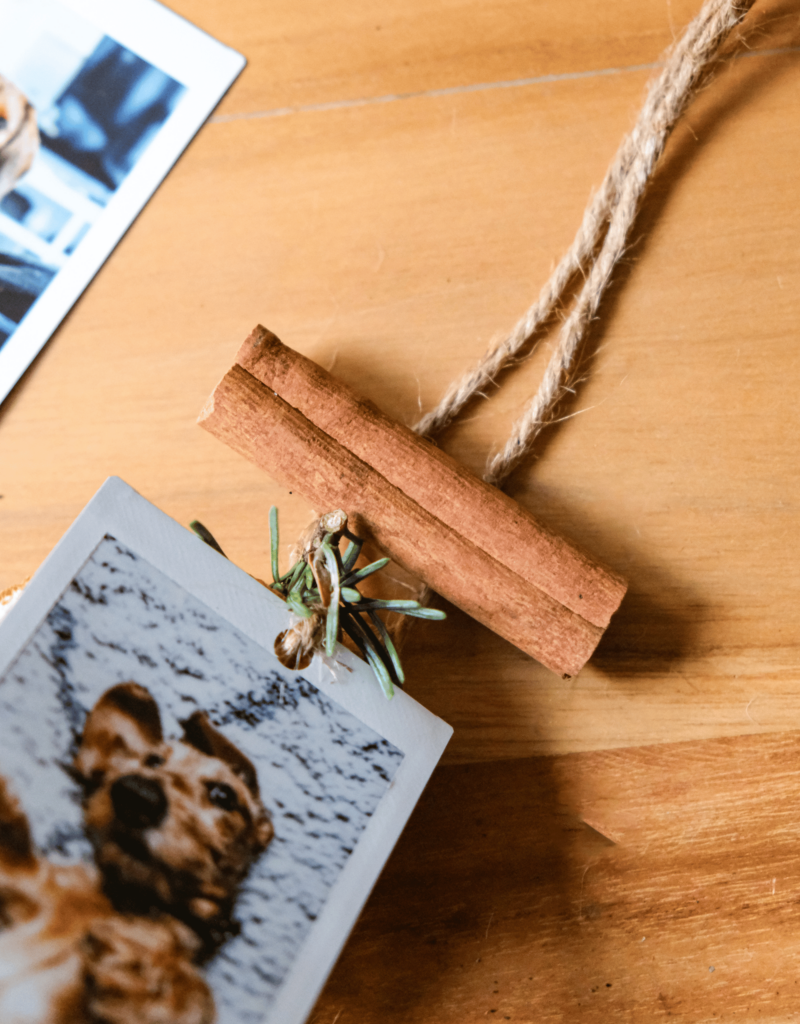
Lay the remaining string out on the table and make sure both ends are the same length. Feel free to trim with scissors where needed.
STEP 6
Lay your cinnamon stick on top of your 2 pieces of string. Make sure you leave about 3 cm of space between the cinnamon stick and the twig.
STEP 7 & 8
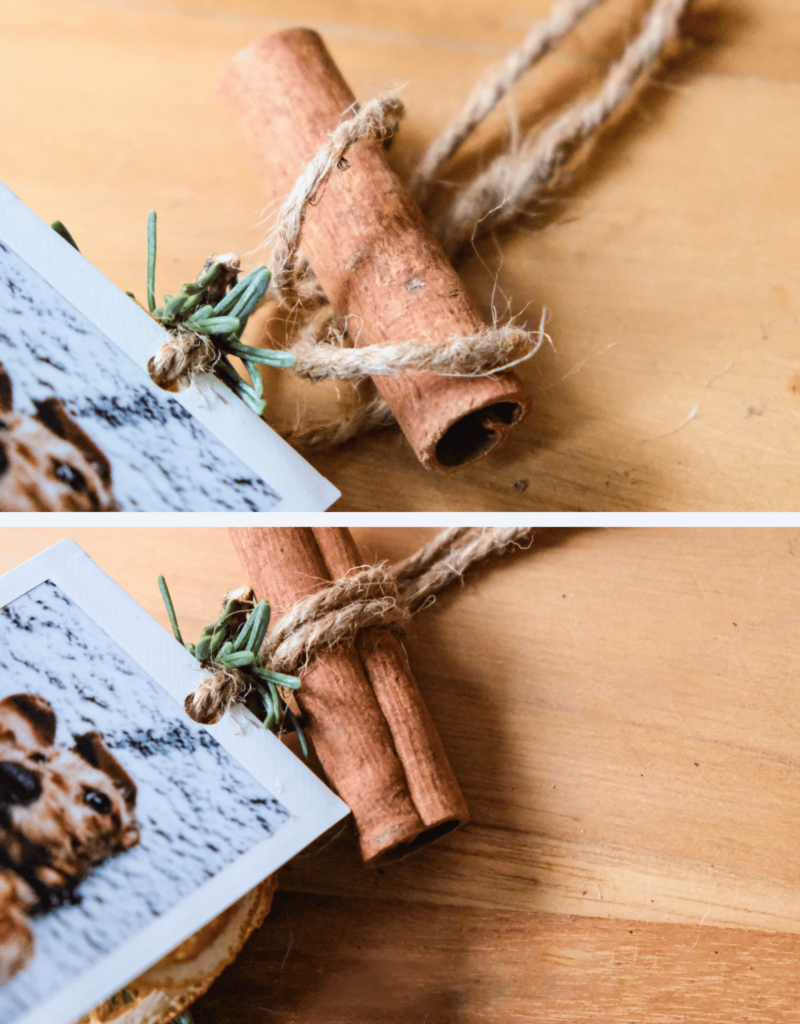
Take hold of your 2 loose ropes at the top and loop them around your cinnamon stick along the top.
Insert them between the 2 ropes under your cinnamon stick and pull.
STEP 9
Secure the 2 loose ends by tying a knot. Your DIY Christmas ornament is ready so you can now start decorating! 🎄
Are you in a creative mood? Click here for even more DIY ideas!
DIY created by Beekeepers Agency.