DIY the merriest Easter tree with instax ornaments

What do you need?
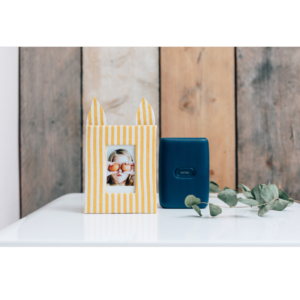
- instax mini LiPlay™
- instax™ fotofilm
- 6 leaves of colored paper (pastel shades such as pink, yellow, purple...)
- Scissors
- Glue stick
- Pencil
- Rope or thin cord
- Wooden beads in different colors
- Adhesive tape
- Egg-shaped template (egg drawn or printed out on thick paper and printed out; 4.5cm high)
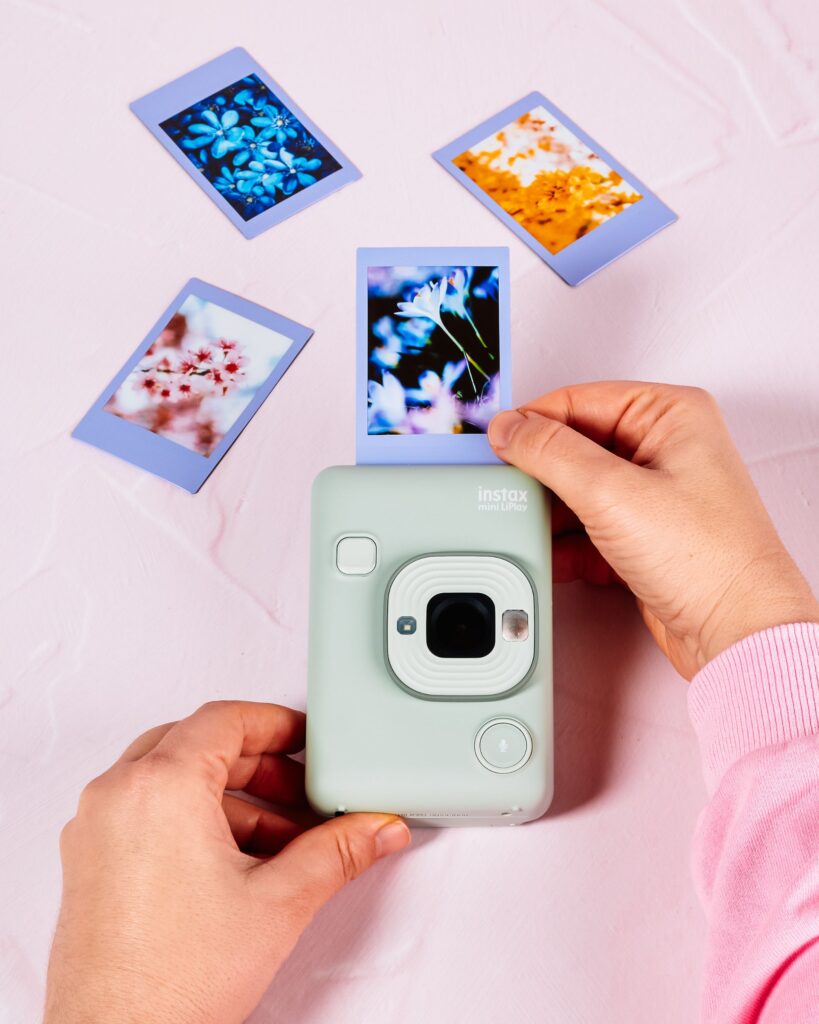
STEP 1
Take spring or Easter inspired photos with the instax mini LiPlay™ or print your favorite snapshots from your smartphone.
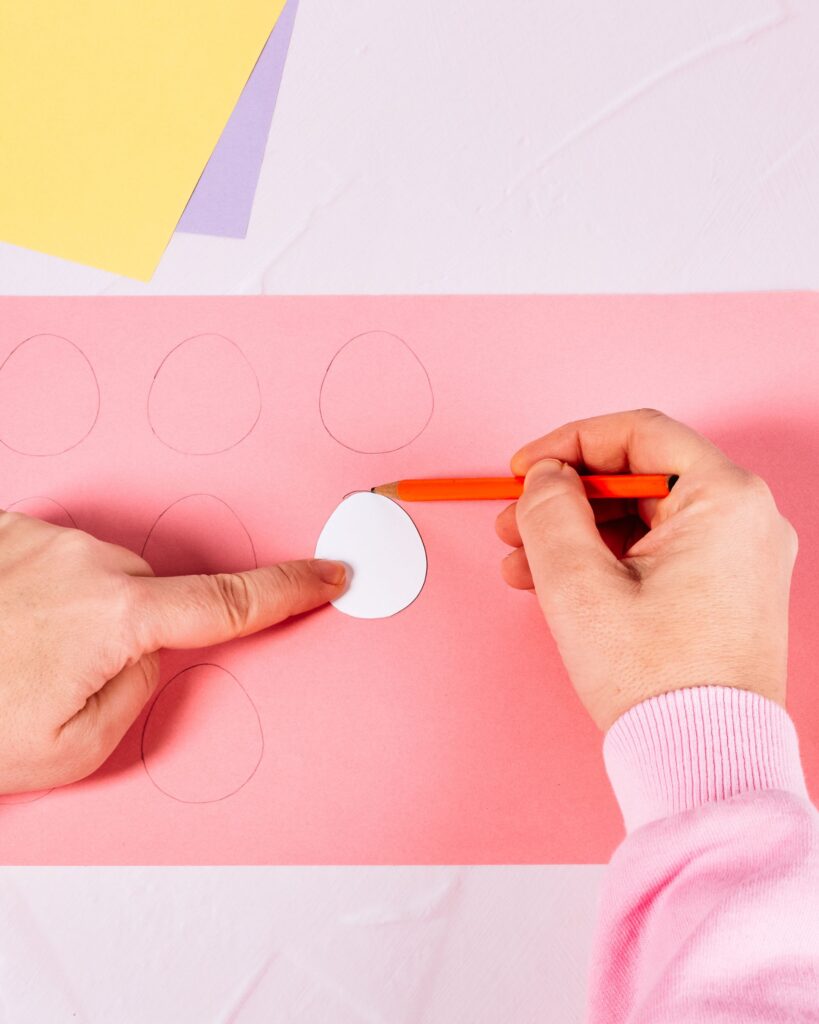
STEP 2
Grab a pencil and the egg template and draw some cute egg ornaments on the colored paper. Draw 12 eggs per ornament for a nice 3D look!
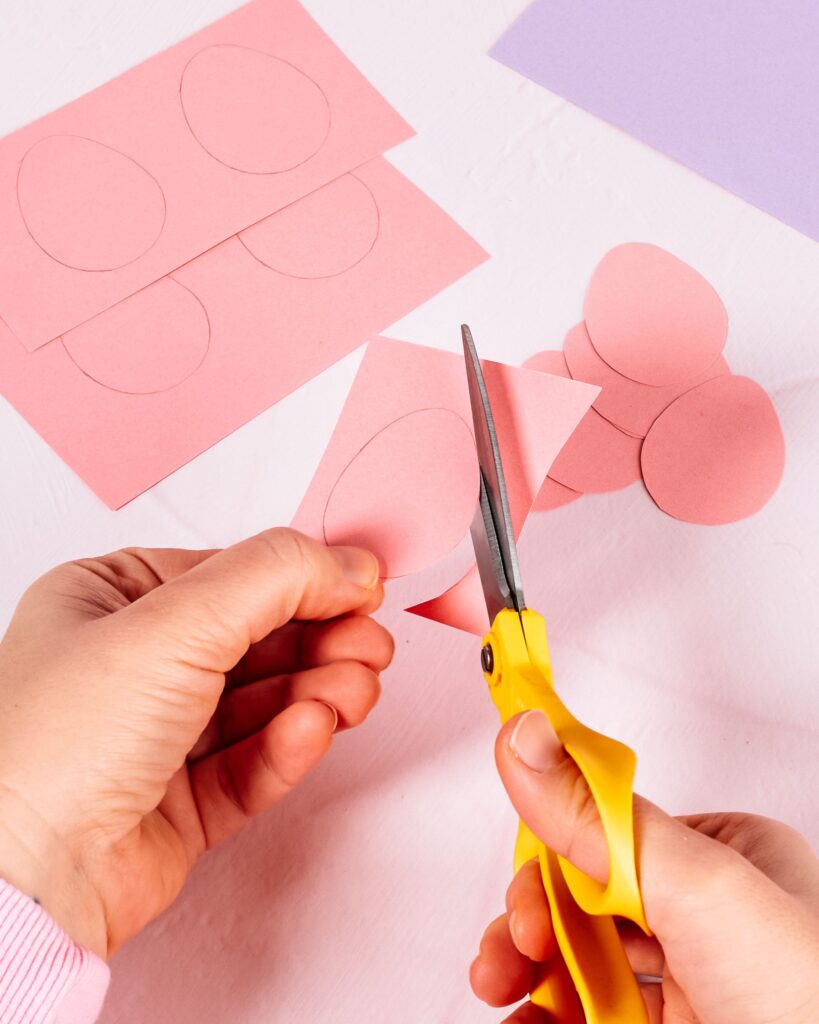
STEP 3
Cut out the egg shapes neatly. Time to bring them to life now!
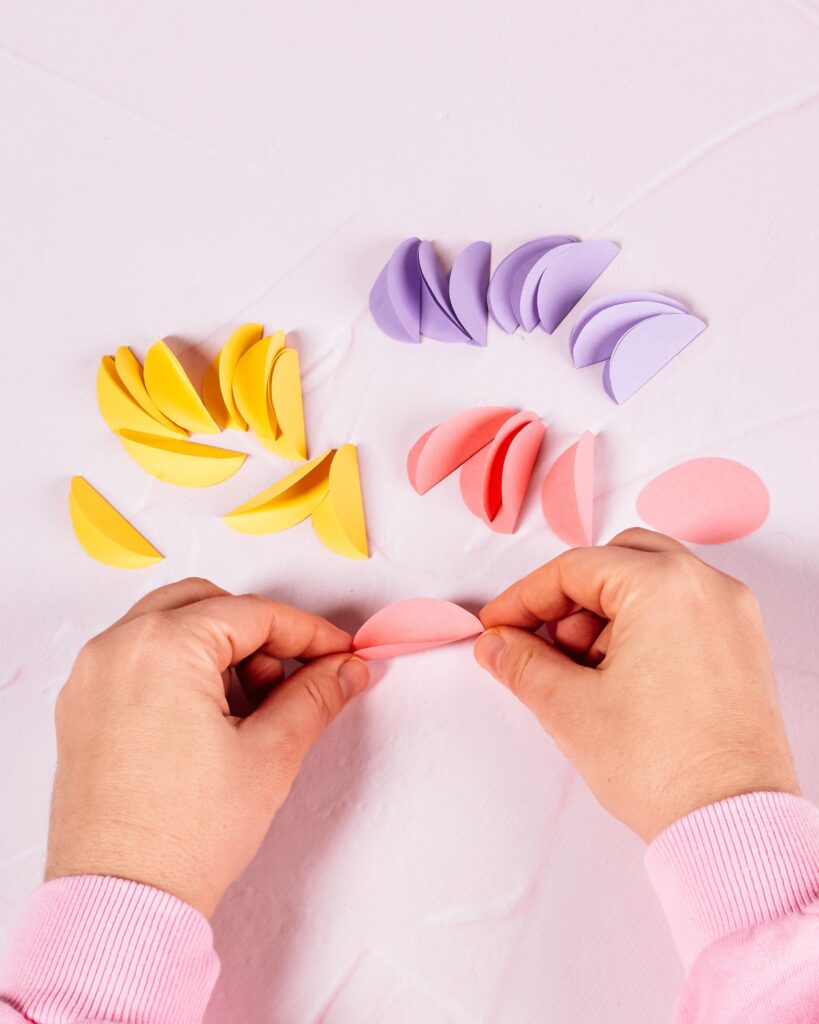
STEP 4
Fold each cut-out egg in half lengthwise.
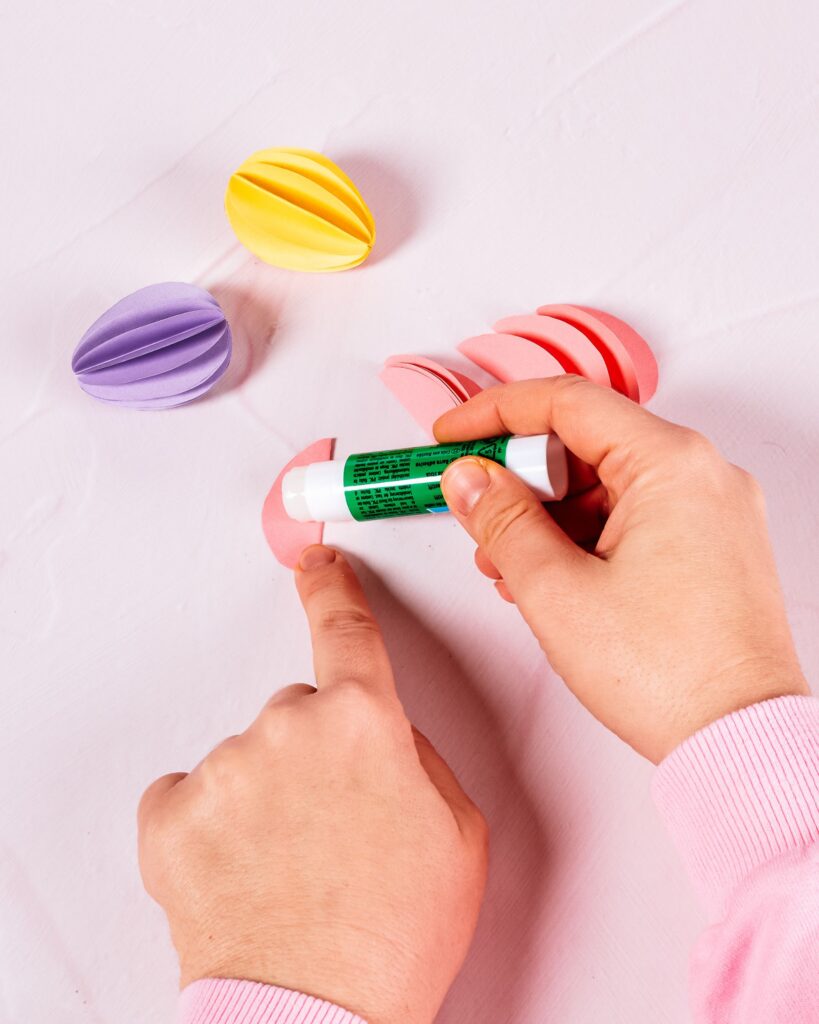
STEP 5
Glue the folded egg shapes together one at a time. Make sure they are stuck together to form a beautiful 3D egg.
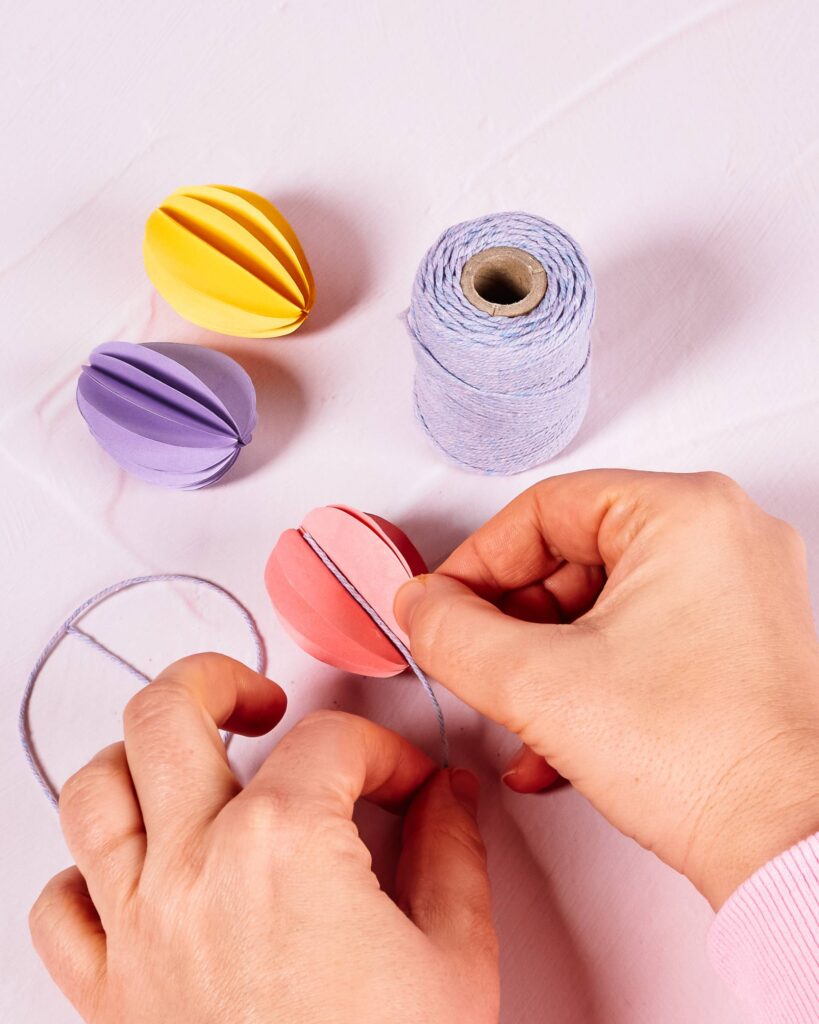
STEP 6
Cut a piece of string of about 25cm and glue this string in the middle; this will be the hanging string for your ornament. Then glue the last 2 ends together to completely close the egg with the string in between.
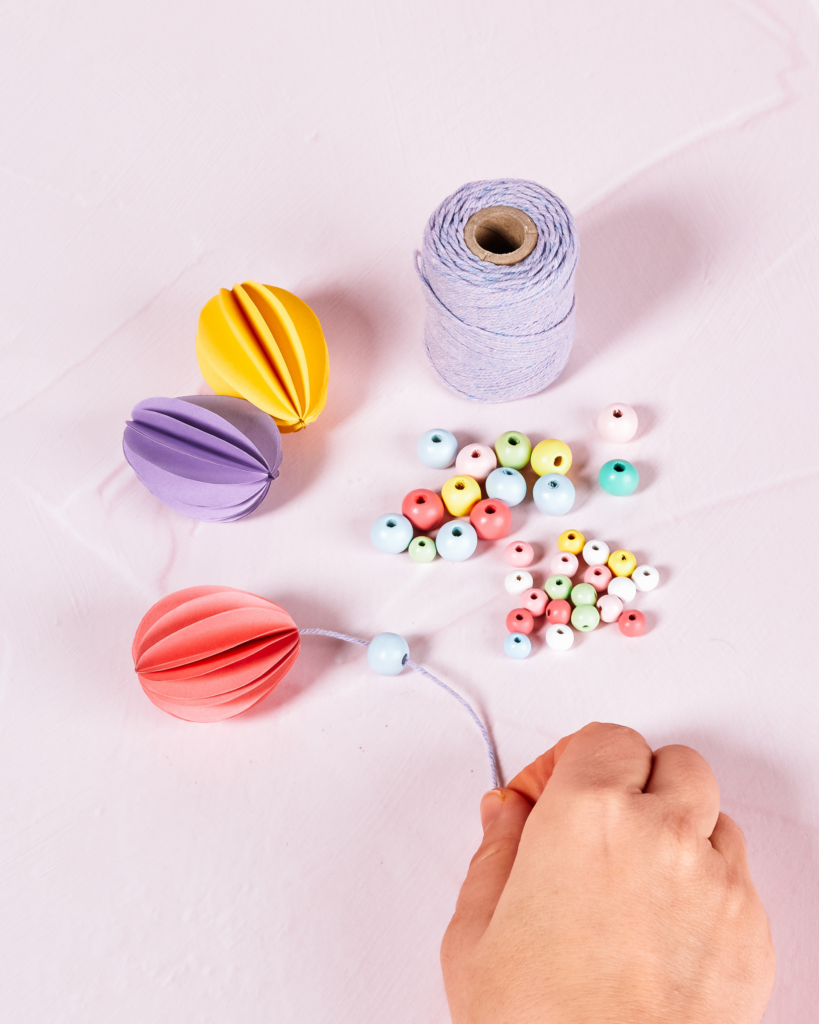
STEP 7
Thread two colorful beads onto the rope.

STEP 8
Use a piece of tape to securely attach your photo to the back of the rope.
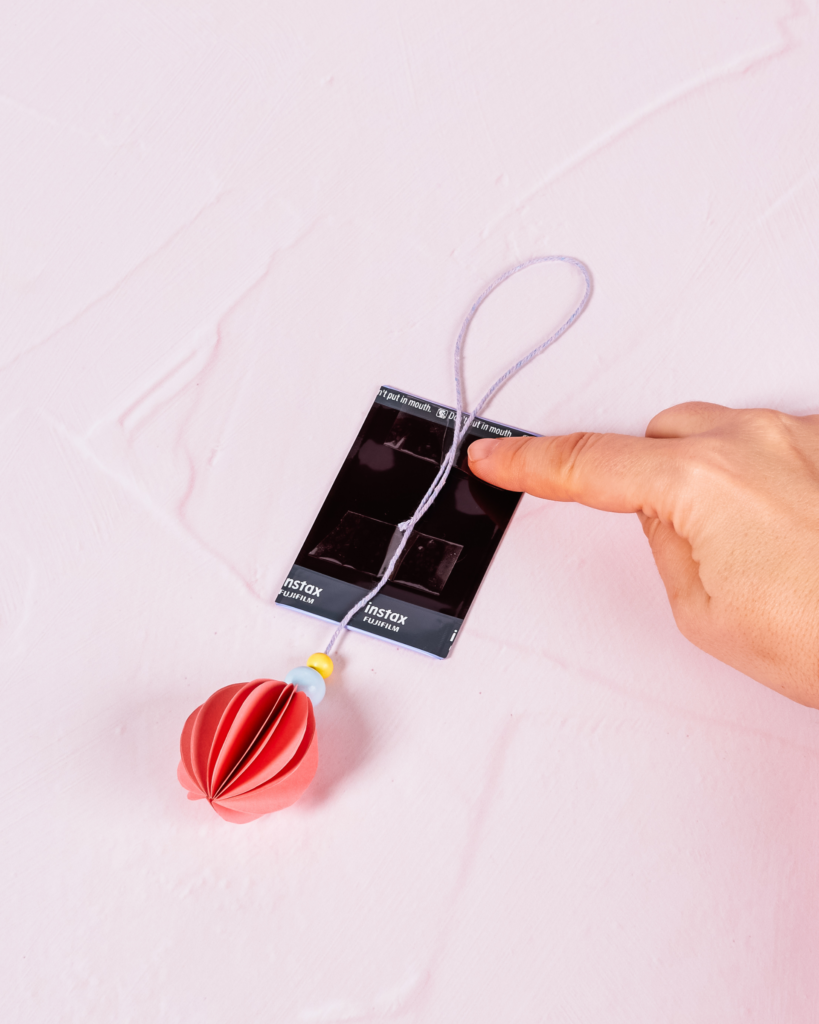
STEP 9
Make a loop at the top of the string to create a hanging loop. Secure the loop with a piece of tape to the top of your picture. Ready to hang!
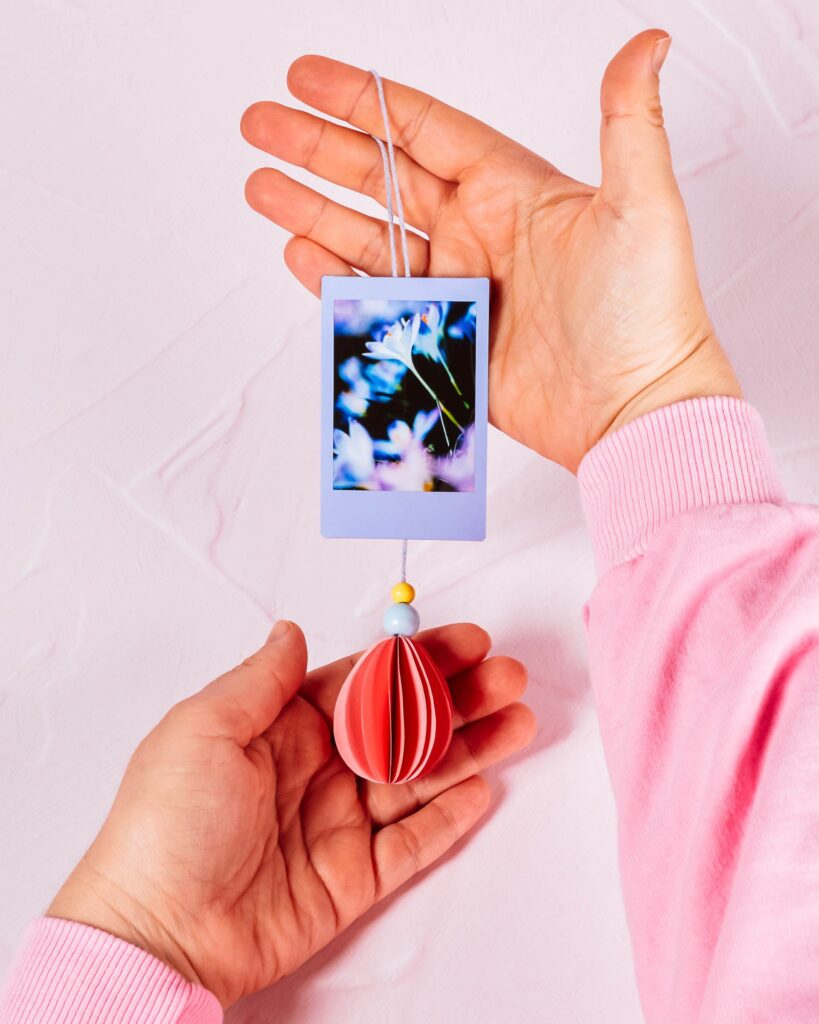
STEP 10
Hang the ornaments in your Easter branches and enjoy the cheerful decoration!

Add a unique and personal touch to your Easter decorations with these homemade instax ornaments. Whether you're celebrating spring or just highlighting your favorite memories, this DIY is a fun way to brighten up your home.
So, grab your instax™, unleash your creativity, and enjoy the cheerful atmosphere you've created yourself. Happy Easter!
Want to know more creative ideas? Click here for more DIY ideas!