Chocolate packaging with mini Link
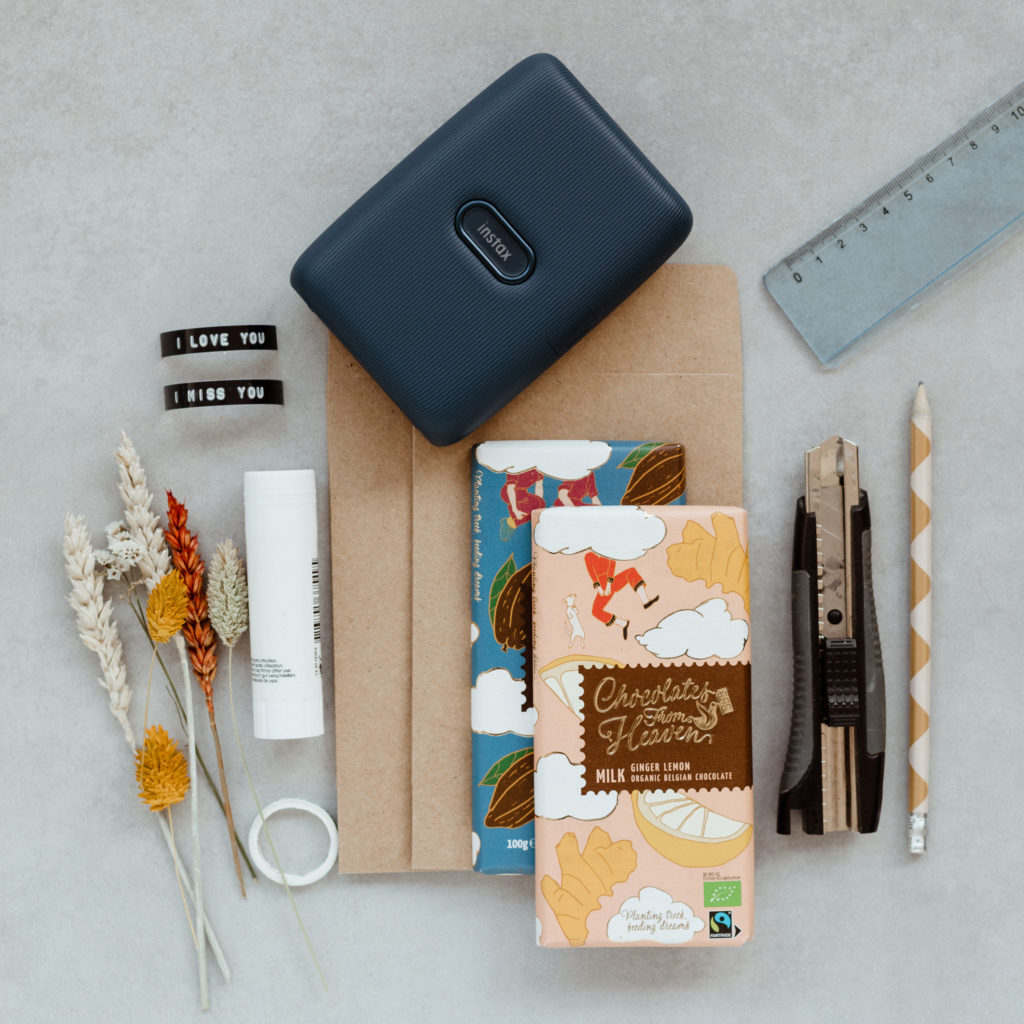
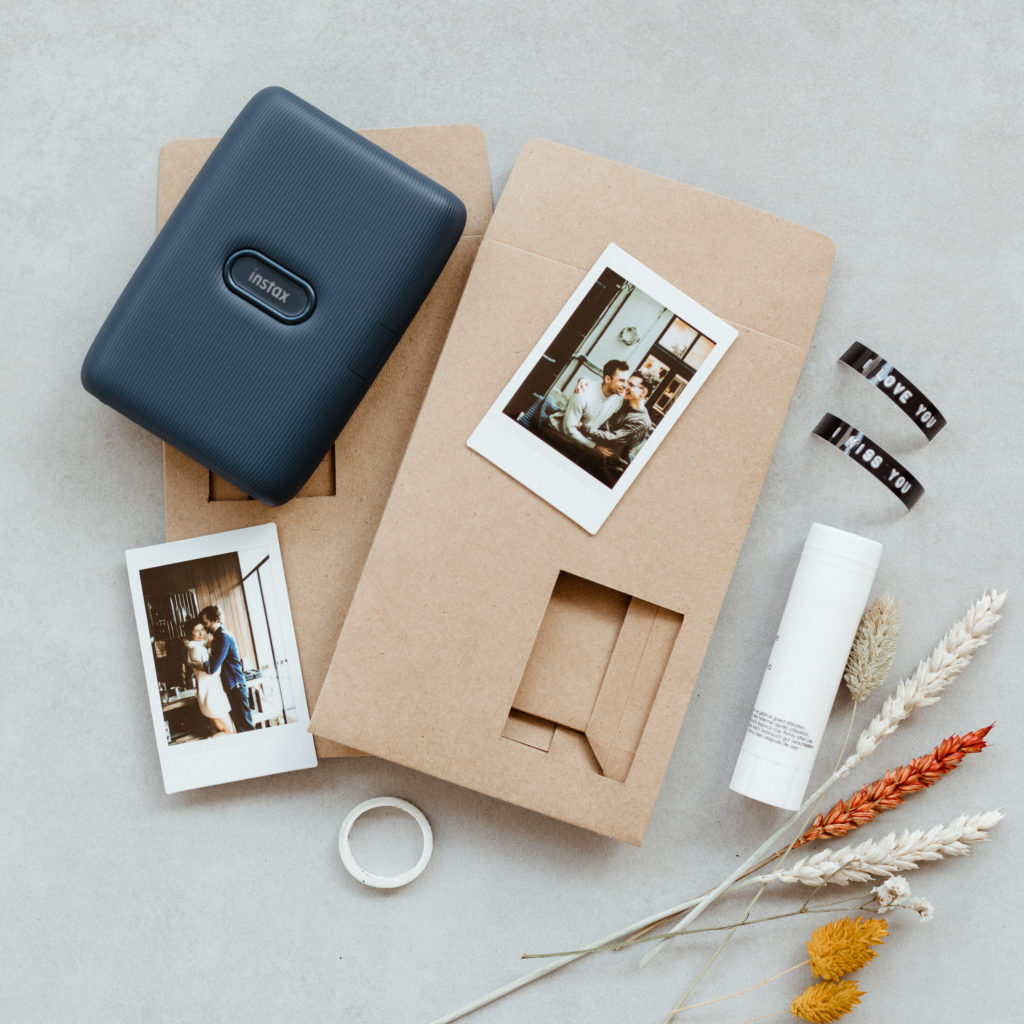
What do you need?
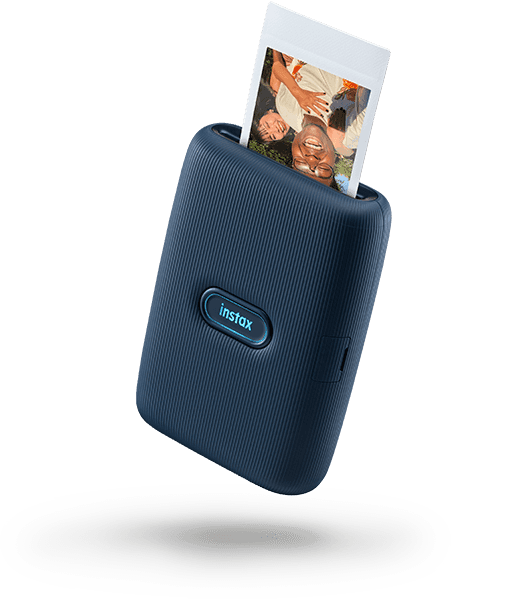
- instax mini Link Dark Denim
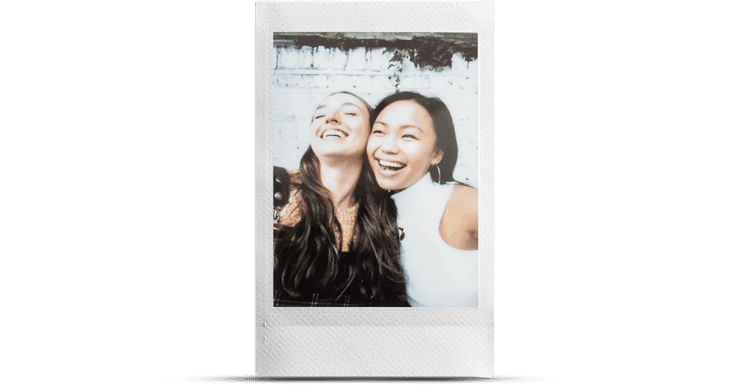
- instax mini film white
- 2 paper gift bags 12 cm x 18 cm
- dried flowers
- thin washi tapelabels or stickers with message (you can also use stamps to put your own message on the bag)
- ruler
- pencil
- blade cutter
- glue
- 2 bars of chocolate (make sure your chocolate is not bigger than the paper bag)
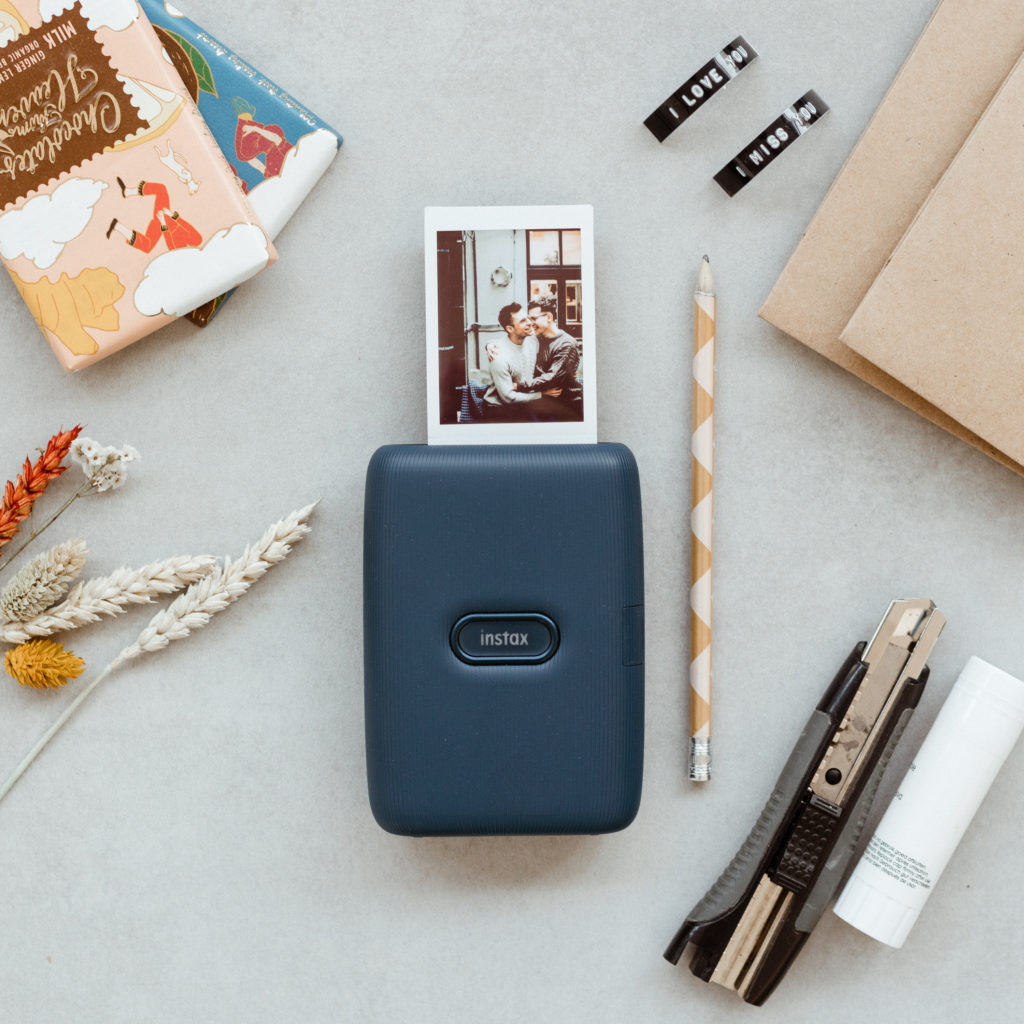
Step 1
Print a lovely photo with your instax mini Link.
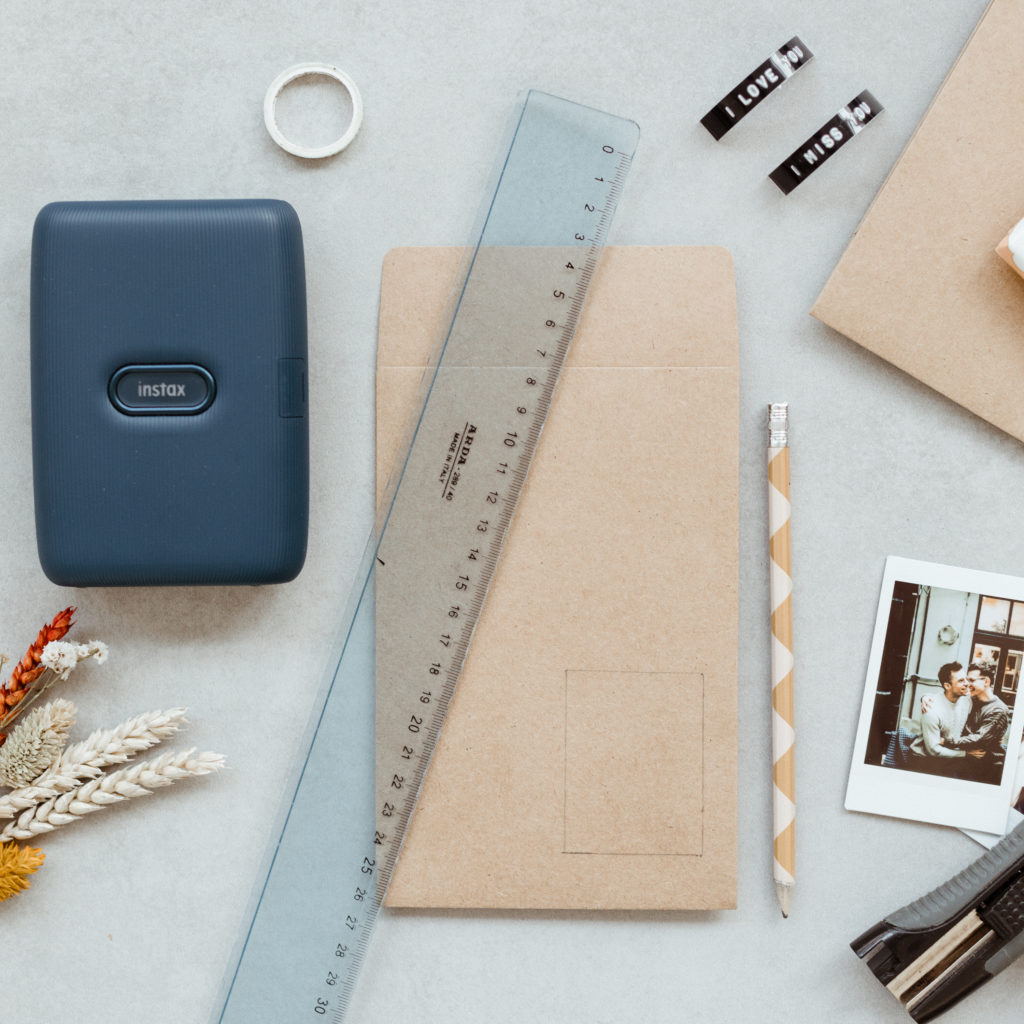
Step 2
Draw a rectangle of 4,5 cm x 6 cm in the bottom or top corner of the paper bag using a ruler and a pencil.
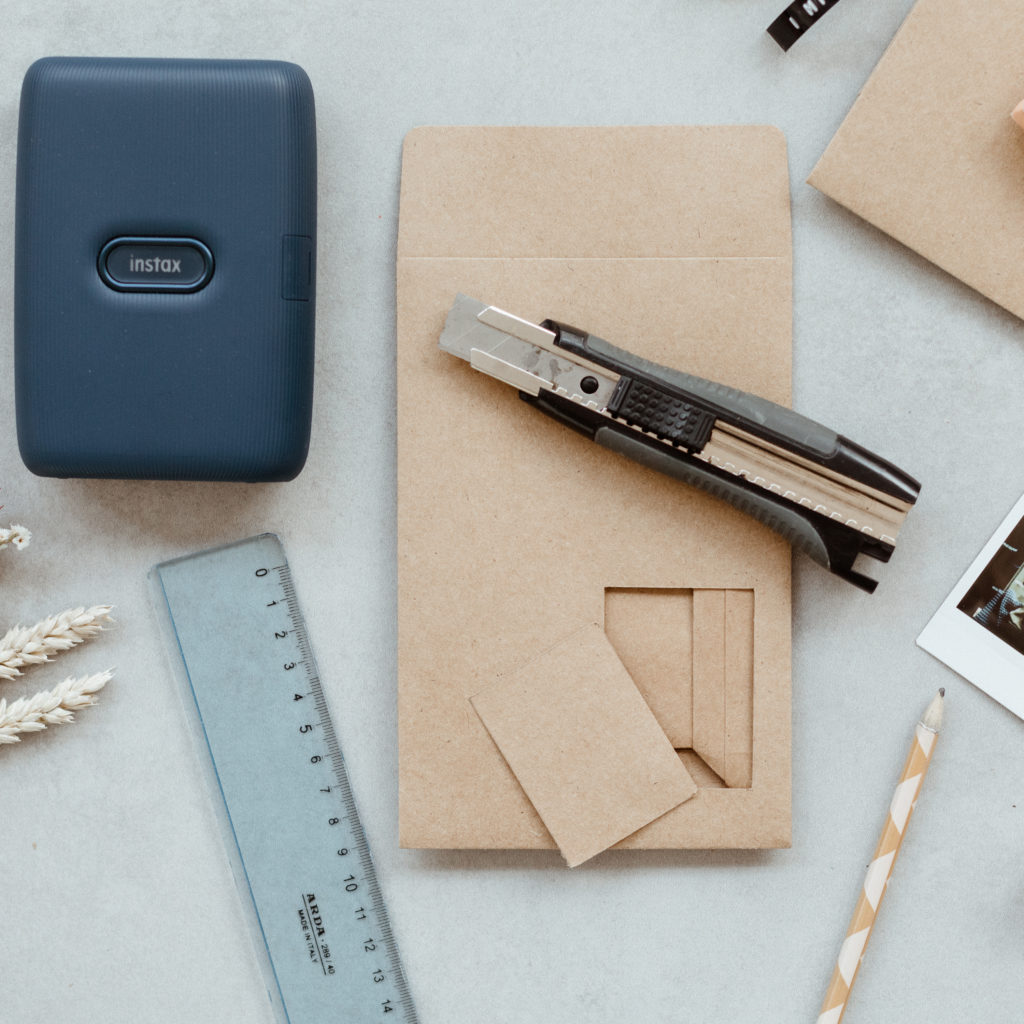
Step 3
Use a blade cutter and a ruler to cut the rectangle out (place a piece of cardboard inside so you don’t cut the back of the bag).
Step 4
Put glue on the white parts of the instax photos and glue them from the inside so that the photo is in the 'window’.
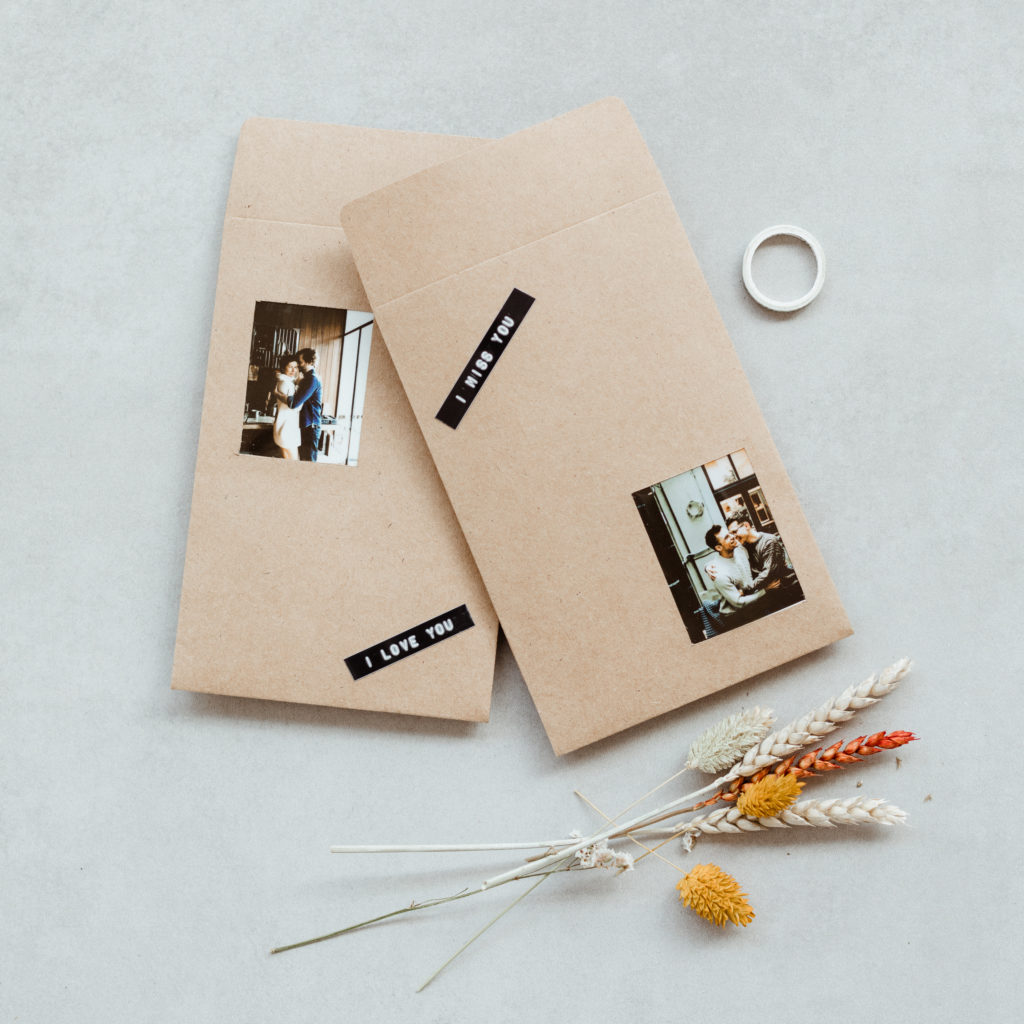
Step 5
Stick the labels or stickers on the opposite corner of the bag.
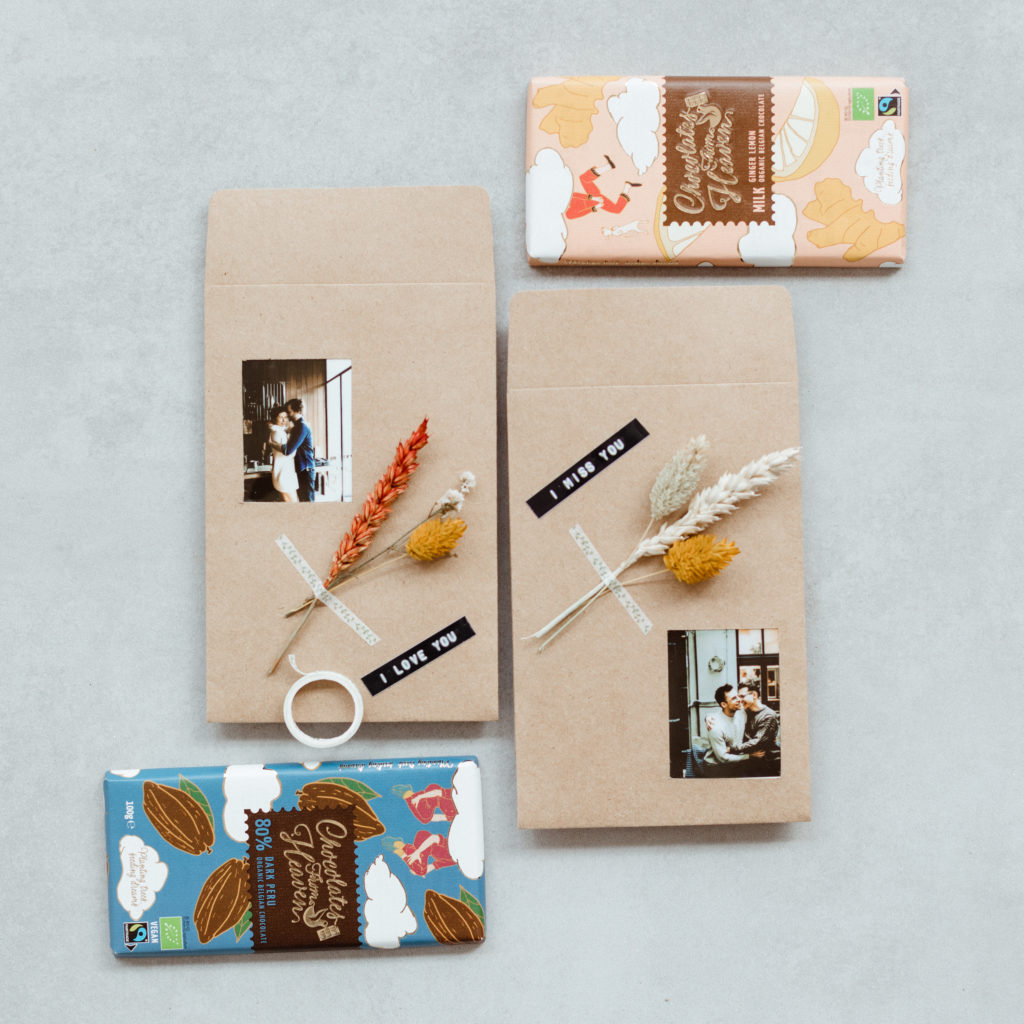
Step 6
Put 3 dried flowers together and attach them to the bag using a Washi tape.

Step 7
Place chocolate inside the bag and close it. Repeat steps for the second packaging.
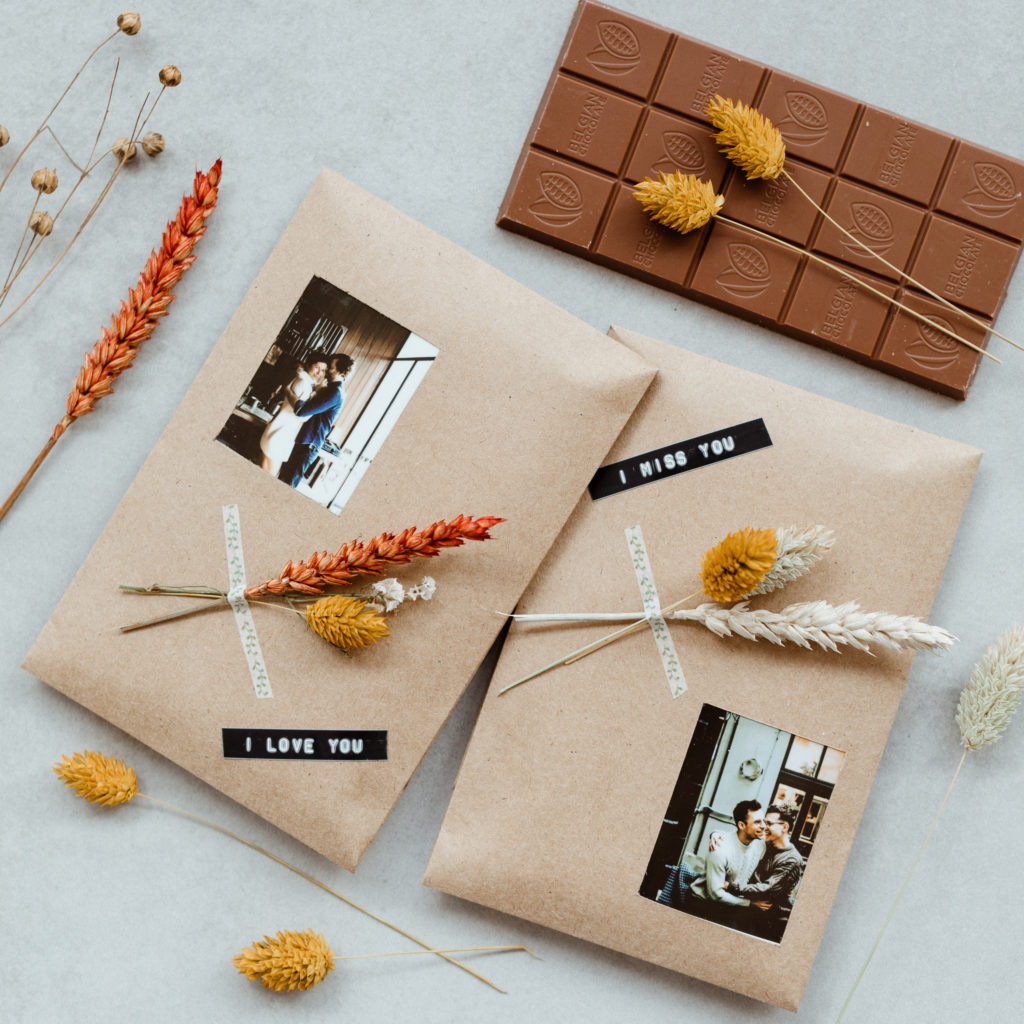
Step 8
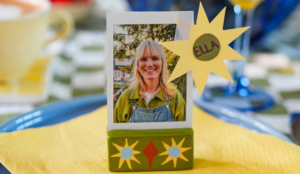
Surprise your loved ones with this cute personalised gift!
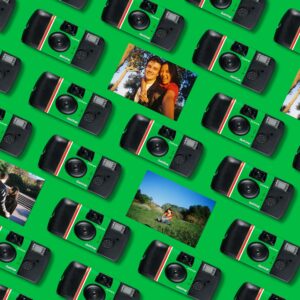
In a creative mood? Click here for more DIY inspo!
DIY made by Marta Majewska.